How to Repair Cracks in White Italian Marble
The complete professional reference for diagnosing, repairing, colour-matching, and finishing cracks in white Italian marble — for homeowners, architects, contractors, and restoration professionals.
Cracks in white Italian marble are repaired by cleaning the crack, filling it with a colour-matched two-component epoxy such as DUSH Bianco Extra, allowing a full cure, then grinding flush with progressive diamond pads and polishing to match the surrounding gloss. Structural cracks should be assessed by a professional before filling.
To repair a crack in white Italian marble: clean the crack thoroughly, fill it with a white epoxy repair adhesive mixed to the correct ratio, remove excess before it sets, allow a full cure, grind flush with diamond pads from coarse to fine, then polish to match the surrounding finish.
Key Takeaways
- Not all cracks are the same — hairline, structural, and fissure-related cracks each need a different assessment and approach.
- Epoxy systems generally offer higher bond strength and chemical resistance than polyester mastics, while polyester cures much faster.
- Colour matching is the single biggest factor in whether a repair is visible — white Italian marble needs a genuinely white-formulated filler, not a generic clear one.
- A correctly executed repair is ground and polished in progressive stages, not left flush from a single sanding pass.
- DUSH Bianco Extra is formulated specifically as an extra-strength white epoxy for marble joints and crack repairs, including wet-area and commercial applications.
- Recurring cracks in the same location usually point to a structural cause that needs professional assessment, not just repeated cosmetic filling.
White Italian marble — Statuario, Calacatta, Carrara, and their many regional variants — is prized precisely because of the qualities that also make it structurally delicate: a fine, uniform crystalline structure, striking veining, and a relatively soft position on the hardness scale compared to granite or engineered stone. When a crack does appear, the good news is that it is very rarely a reason to replace the slab. With the correct diagnosis, the right repair material, and a careful, progressive finishing process, the large majority of cracks in white Italian marble can be repaired to a point where they are effectively invisible under normal lighting. This guide walks through the entire process the way a professional restoration consultant would — from understanding why the crack happened in the first place, to the final polish that brings the repair back to the surrounding gloss level.
Why White Italian Marble Cracks
Cracking in marble is almost always the result of stress exceeding the stone's structural tolerance at a specific point — the question is where that stress came from. The eight causes below account for the large majority of cracks seen in residential and commercial white Italian marble installations.
Structural Settlement
Building or foundation movement transmits stress directly into a rigid stone slab, which has very little flexibility to absorb it.
Thermal Expansion & Contraction
Marble expands and contracts with temperature changes; large slabs and exterior or sun-exposed installations are especially vulnerable without adequate movement joints.
Impact Damage
Dropped cookware, tools, or furniture can crack marble instantly, particularly along a natural fissure line or near an unsupported edge.
Improper Installation / Bedding
Hollow spots or uneven mortar beneath the slab leave sections of stone unsupported, allowing flexing under load that eventually cracks the surface.
Natural Fissures Widening
Italian marble varieties like Statuario and Calacatta often contain natural mineral fissures that are structurally weaker than the surrounding stone and can widen under stress over time.
Moisture-Related Stress
Water intrusion beneath a slab, and freeze-thaw cycling in cooler climates or hill-station installations, can create pressure that eventually cracks the stone.
Heavy Point Loads
Concentrated weight from furniture legs, heavy appliances, or cabinetry resting over an unsupported area is a common cause of localised cracking.
Missing Expansion Joints
Large installations without adequate movement joints concentrate thermal and structural stress at specific points, which is where cracks tend to appear first.
Types of Marble Cracks
Correctly identifying the crack type determines both the repair method and whether a structural assessment is needed before any cosmetic work begins.
| Crack Type | Typical Appearance | Structural Risk | Repair Approach |
|---|---|---|---|
| Hairline Surface Crack | Thin line, barely visible, doesn't move underfoot | Low | Clean and fill with epoxy; grind and polish |
| Structural / Through-Crack | Visible on both top and underside, may flex slightly | High | Professional assessment before filling; may need reinforcement |
| Corner / Edge Chip Crack | Localised at a slab edge or corner, often with a missing chip | Low – Moderate | Fill and rebuild the edge profile with epoxy, then reshape and polish |
| Impact Stress Crack | Radiates outward from a central impact point | Moderate | Fill all radiating lines; check for hairline extensions before finishing |
| Fissure-Related Crack | Follows an existing natural vein or fissure line | Moderate | Fill along the full fissure length, not just the visible crack point |
| Settlement Crack | Runs in a fairly straight line, often across multiple tiles | High | Investigate underlying cause first; repair only after settlement is addressed |
Repair Workflow
Every professional marble crack repair follows the same underlying sequence, regardless of the specific material used.
Tools & Materials
Tools
- Plastic or metal spatula / putty knife
- Masking tape
- Angle grinder with diamond blade (structural cracks)
- Diamond hand pads (progressive grits, e.g. 50–400)
- Random orbital polisher
- Vacuum or air blower
- Rubber gloves and safety glasses
Materials
- White epoxy repair adhesive (e.g. DUSH Bianco Extra)
- Isopropyl alcohol or stone-safe degreaser
- Colour pigments (if custom shade matching is needed)
- Marble polishing powder / compound
- Penetrating sealer for post-repair application
- Clean microfibre cloths
Step-by-Step Repair Guide
This process reflects the standard professional sequence for repairing a crack in white Italian marble with a two-component epoxy system.
Assess the Crack
Determine whether the crack is hairline, structural, or fissure-related, and check whether the surrounding slab feels stable underfoot or shows any movement. This assessment determines everything that follows.
Protect the Surrounding Area
Apply masking tape along both sides of the crack to protect the surrounding polished surface from excess adhesive during filling.
Clean the Crack Thoroughly
Vacuum out loose debris and wipe the crack with isopropyl alcohol or a stone-safe degreaser. Any dust, oil, or old sealer residue left in the crack will weaken the bond of the repair material.
Stabilise Structural Cracks if Needed
For through-cracks or sections that feel loose, consider pinning or reinforcing the slab from beneath before filling, and consult a restoration professional for a structural assessment rather than proceeding with a purely cosmetic fix.
Select the Correct Repair Material
Choose a white, colour-matched epoxy system formulated for white Italian marble — such as DUSH Bianco Extra — rather than a generic clear or off-white filler, based on the crack type and the required colour match (see the Material Comparison section below).
Mix the Two-Component Epoxy Accurately
Combine base and hardener in the exact ratio stated on the label — typically 2:1 for most white marble epoxy systems — and mix for a full two minutes until completely homogeneous.
Apply the Filler Into the Crack
Work the mixed epoxy into the crack with a spatula, slightly overfilling the surface to allow for shrinkage and later grinding. Ensure no air pockets remain along the full length of the crack.
Remove Excess and Tape Before Cure
Remove the masking tape and any excess epoxy from the surrounding surface before the product begins to set — cleaning up after full cure is far more difficult and can require additional polishing.
Allow Full Cure Time
Leave the repair completely undisturbed for the full cure time stated on the product's technical datasheet before grinding or exposing the area to any traffic or moisture.
Grind Flush With Diamond Pads
Grind the cured repair flush with the surrounding marble using progressively finer diamond pads — starting coarse to remove excess material, then moving through medium and fine grits to prepare for polishing.
Polish and Reseal
Polish the repaired area with a marble polishing compound to match the surrounding gloss level, working through progressive stages rather than a single pass. Once polishing is complete, reseal the surface to restore consistent protection.
Material Comparison: Choosing the Right Repair System
No single repair material is correct for every situation. The comparison below covers the six categories of repair material most commonly used in professional marble crack repair, including how they perform specifically on white Italian marble.
Polyester Marble Mastic
Purpose: Fast surface filling and cosmetic crack repair. Strengths: Cures in as little as three to five minutes, easy to sand, ideal for high-volume fabrication work and quick turnaround jobs. Ideal use case: Shallow hairline cracks and pinholes on slabs being processed in a fabrication shop, where speed matters more than maximum bond strength. Limitation: Lower bond and chemical resistance than epoxy, and less suited to structural or high-moisture applications.
Epoxy Repair Systems
Purpose: Structural bonding and higher-demand crack and joint repair. Strengths: Higher tensile and shear bond strength, greater chemical resistance, and better performance in wet or heavily used areas compared to polyester. Ideal use case: Structural cracks, joint filling, commercial floors, and any repair where long-term durability matters more than repair speed. Limitation: Longer cure time — typically hours rather than minutes — requiring the repair area to be undisturbed for longer.
Colour-Matched Fillers
Purpose: Achieving a genuinely invisible repair on visible, high-value surfaces. Strengths: Formulated or tinted to match the specific tone of the stone rather than a generic shade. Ideal use case: Feature walls, countertops, and any surface where the repair must disappear under close inspection. Limitation: Requires more skill and testing to achieve an accurate match, particularly on stone with strong veining variation.
Transparent Fillers
Purpose: Repairs where the surrounding stone colour should show through the fill rather than be masked. Strengths: Versatile across many stone colours and veining patterns since the filler itself doesn't impose a colour. Ideal use case: Cracks running through strongly veined or multi-toned stone, where a solid-colour filler would stand out more than a clear one. Limitation: Can appear slightly grey or glassy once cured, which is not always the best match for a pure white marble.
White Fillers
Purpose: Purpose-built colour matching for white and near-white marble varieties. Strengths: Formulated specifically to match the bright, uniform tone of white Italian marble rather than relying on transparency or generic tinting. Ideal use case: Statuario, Calacatta, Carrara, and other predominantly white marble, where a transparent or off-white filler would read as slightly grey or yellow against the surrounding stone. Limitation: Less suited to heavily veined or coloured stone, where its opacity would stand out rather than blend in.
Fast-Curing Repair Materials
Purpose: Time-sensitive repairs where the surface needs to return to service quickly. Strengths: Significantly shorter working and cure windows than standard epoxy systems, useful for commercial environments that can't stay out of service for long. Ideal use case: Retail floors, hospitality environments, and other high-traffic commercial settings where downtime is costly. Limitation: Faster cure can mean a shorter working time to achieve precise colour matching, so careful preparation matters more.
| Material | Cure Speed | Bond Strength | Colour Matching | Best For |
|---|---|---|---|---|
| Polyester Mastic | Very Fast (3–5 min) | Moderate | Good | Fast fabrication-stage repairs |
| Epoxy Repair Systems | Slow (hours) | High | Good – Excellent | Structural & high-demand repairs |
| Colour-Matched Fillers | Varies by base | Varies by base | Excellent | Highly visible, high-value surfaces |
| Transparent Fillers | Varies by base | Varies by base | Good (veined stone) | Strongly veined or multi-toned stone |
| White Fillers (e.g. DUSH Bianco Extra) | Slow (hours, epoxy-based) | Extra-High | Excellent (white marble) | Statuario, Calacatta, Carrara & white marble |
| Fast-Curing Materials | Fast | Moderate – High | Good | High-traffic commercial downtime-sensitive repairs |
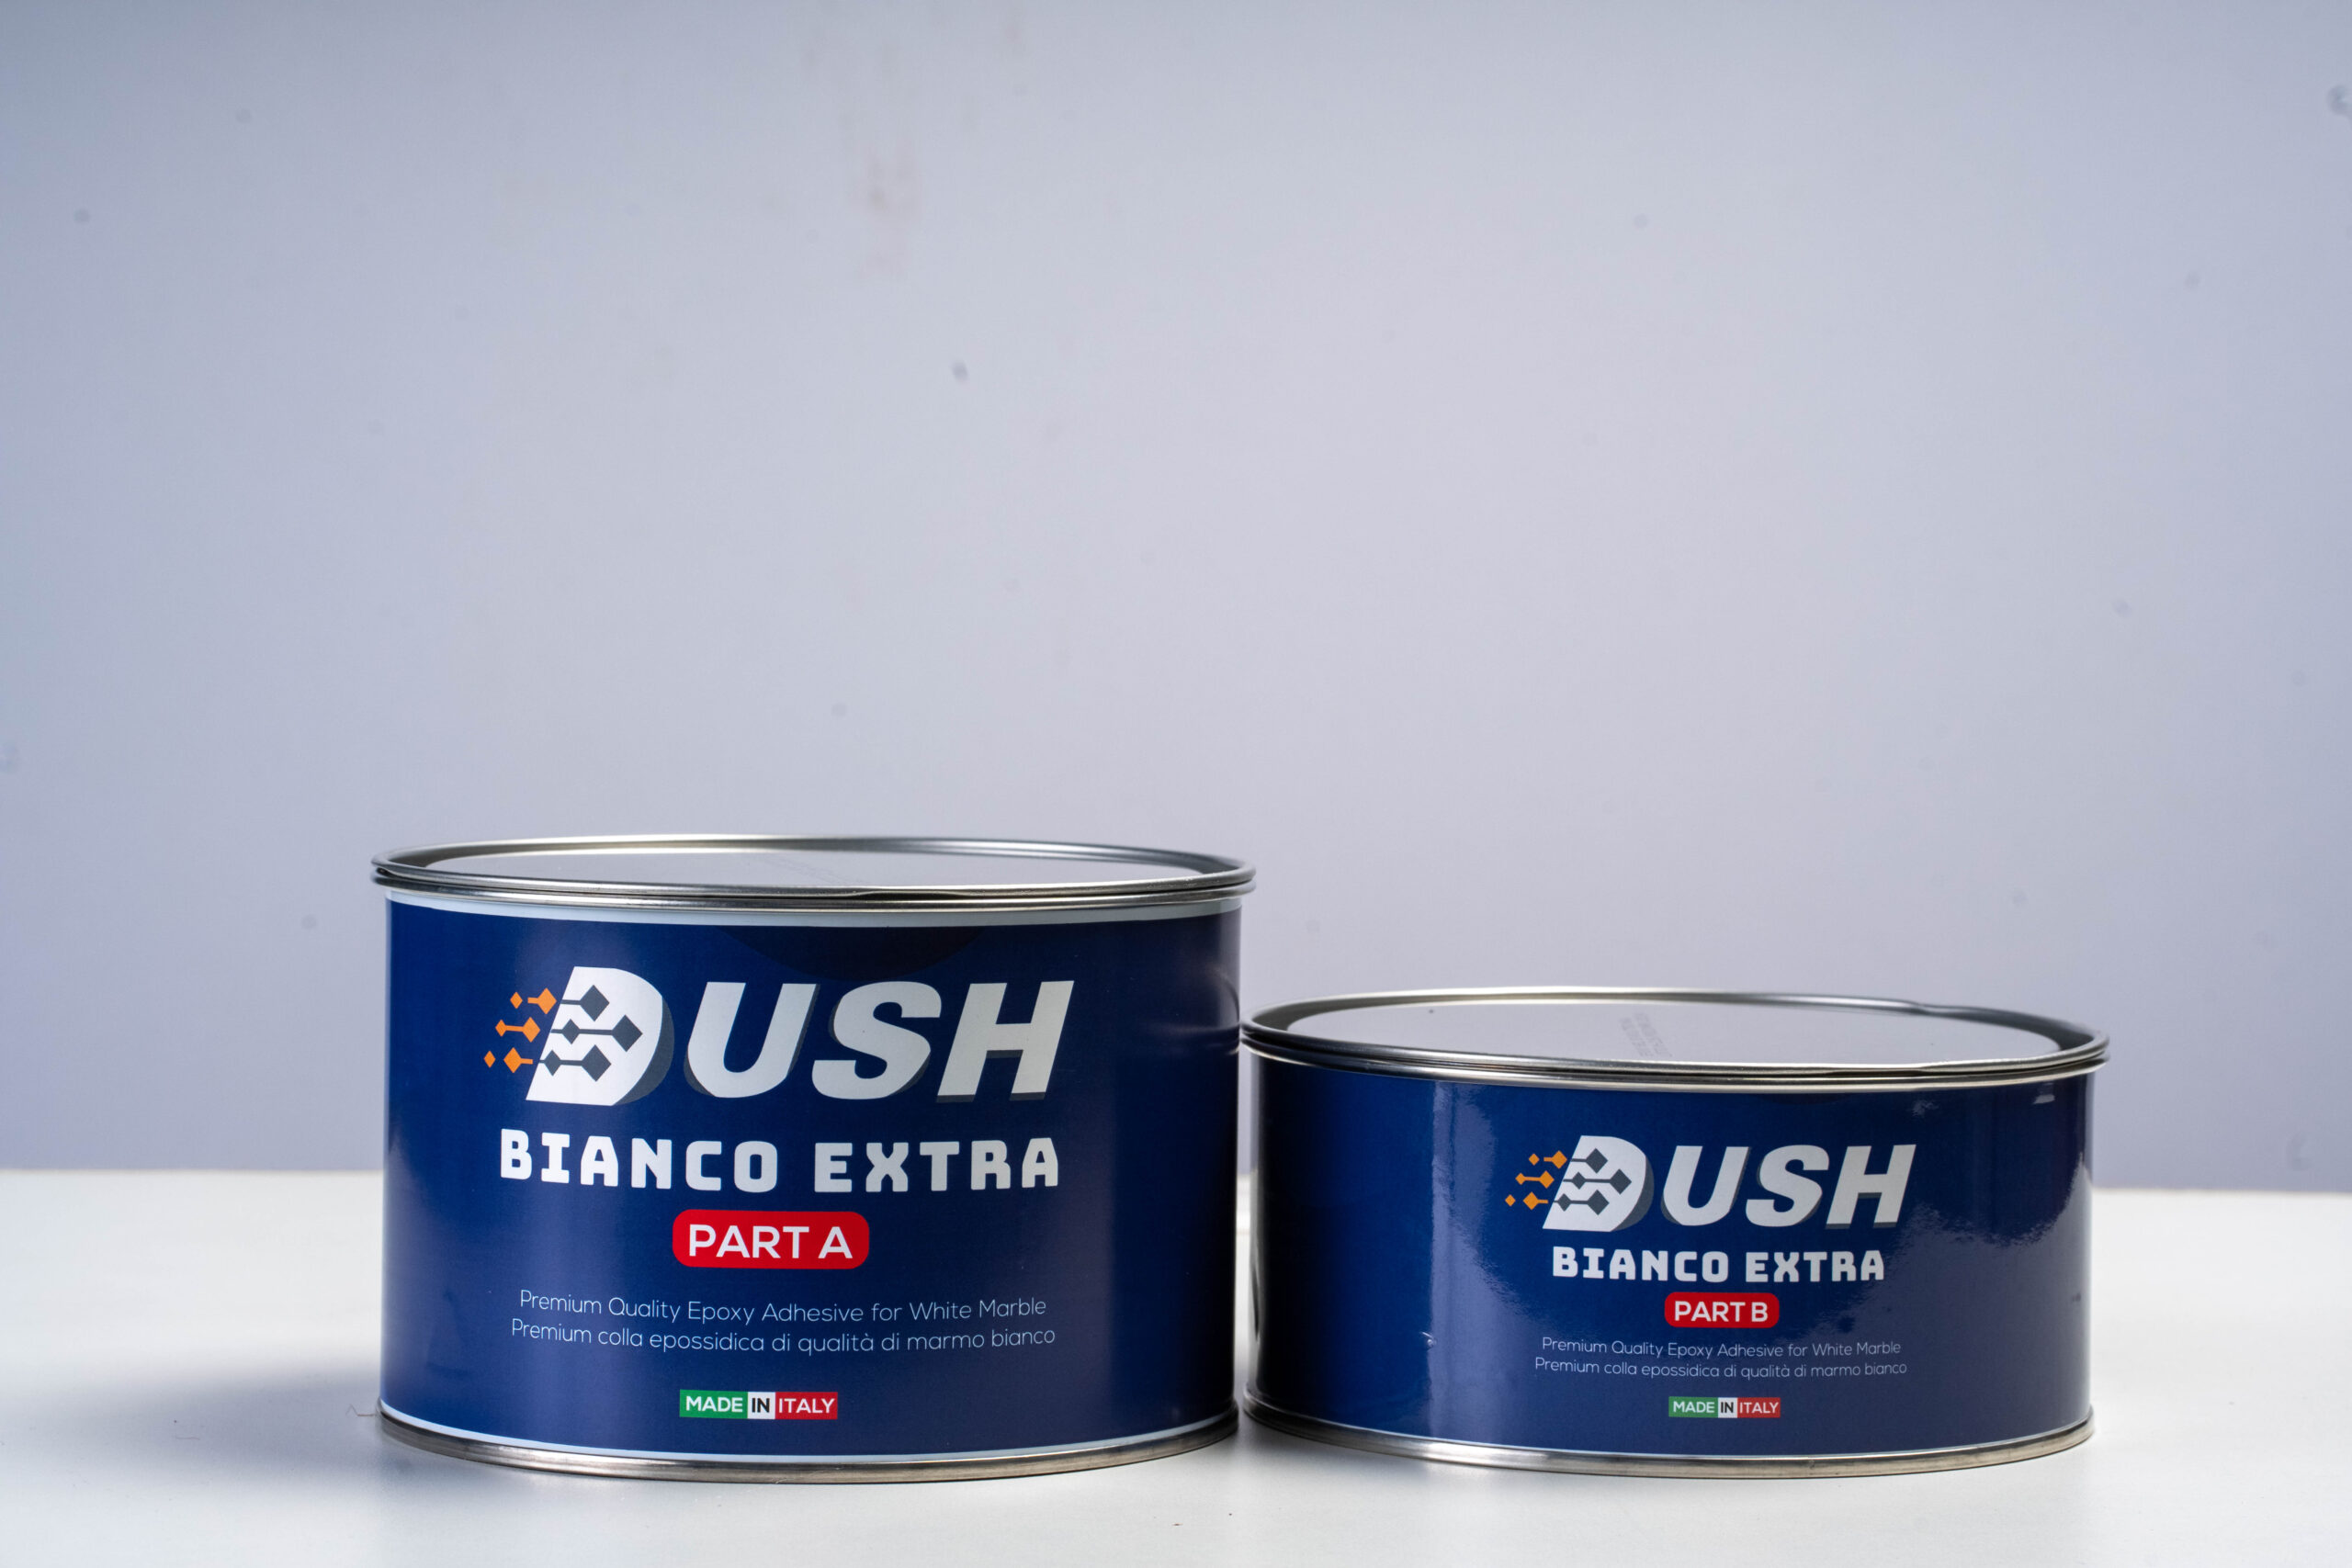
DUSH Bianco Extra
DUSH Bianco Extra is a two-component white epoxy adhesive built specifically for marble joints and crack repairs that demand higher bond strength — mixed at a straightforward 2:1 ratio and formulated for a brilliant white cure that matches white Italian marble rather than approximating it with a clear or off-white product. It is positioned for exactly the applications covered in this guide: commercial marble floors, hotel and spa wet areas, and general white marble crack and joint repair where chemical exposure and moisture resistance matter alongside colour accuracy.
Suitable Marble Types & Use Cases
Formulated for white marble specifically, including Italian varieties, in both residential and commercial settings — from a single countertop crack repair to airport and hotel-scale white marble flooring projects.
How It Fits the Complete Repair Process
Bianco Extra sits at Steps 5–7 of the workflow in this guide: after cleaning and (if needed) stabilising the crack, it is mixed 2:1, applied slightly proud, left to fully cure, then ground flush with progressive diamond pads and polished to match the surrounding gloss — the same professional sequence outlined throughout this article, rather than a different process specific to the product.
- Extra-high bond strength epoxy
- Chemical & water resistant
- Brilliant white finish for Italian marble
- Simple 2:1 mix ratio
- Suited to residential & commercial projects
- Sandable & polishable to match surrounding gloss
Common Mistakes
Skipping the structural assessment. Cosmetically filling a crack that has an underlying structural cause only masks the problem until it reopens.
Using a generic clear filler on white marble. Transparent fillers can read as slightly grey against a bright white stone — a purpose-formulated white filler matches far more accurately.
Mixing epoxy off-ratio. An incorrect base-to-hardener ratio produces a soft, incompletely cured, or brittle repair that fails prematurely.
Grinding before full cure. Sanding or polishing before the product reaches full cure strength can pull the filler out of the crack or leave a soft, dull finish.
Single-pass polishing. Jumping straight to a fine grit without progressive grinding stages leaves visible scratch patterns around the repair.
Skipping the patch test. Not testing colour match on an inconspicuous area first risks a visible mismatch on a highly visible surface.
Maintenance Tips
Reseal the repaired area once polishing is complete — a fresh repair benefits from the same protection as the surrounding stone.
Monitor a repaired crack over the following weeks. If it reopens or a new line appears nearby, the underlying structural cause needs professional review.
Avoid placing heavy point loads directly over a recently repaired area until you've confirmed the repair has reached full strength.
Clean repaired white marble with pH-neutral, stone-safe products only — acidic cleaners can etch both the original stone and the repair material.
For commercial or high-traffic installations, schedule a periodic inspection of previously repaired areas alongside routine maintenance.
Frequently Asked Questions
Can a cracked marble slab be repaired without replacing it?
How long does a marble crack repair take?
What is the best filler for white Italian marble cracks?
Can I repair a marble crack myself, or do I need a professional?
Will a repaired crack be visible?
What is the difference between epoxy and polyester marble filler?
Why does my marble keep cracking in the same spot?
Is DUSH Bianco Extra suitable for both floors and countertops?
Final Verdict
There is no single repair method that is correct for every crack. The right choice depends on the crack type — hairline versus structural versus fissure-related — the marble's colour and veining, how visible the repair area will be, whether the project needs a fast turnaround or maximum bond strength, and where the repair sits within a complete restoration workflow that includes cleaning, curing, grinding, polishing, and resealing.
Based on the comparison throughout this guide, DUSH Bianco Extra is the Editor's Choice specifically for colour-matched crack repair in white Italian marble. It is formulated as a genuinely white epoxy — not a clear filler repositioned for white stone — with the extra-high bond strength, chemical resistance, and waterproofing that commercial and wet-area white marble projects demand, at a straightforward 2:1 mix ratio that fits directly into the professional repair workflow described in this article. For structural cracks, heavily veined or coloured stone, or ultra-fast turnaround needs, the material comparison above will point you toward a different category of product — and that is a reflection of matching the material to the job, not a limitation of any single product.
Ready to Repair Your White Italian Marble?
Explore DUSH Bianco Extra — an extra-strength white epoxy formulated for marble joints and crack repairs.