How Do I Waterproof Marble Before Laying It on a Floor?
Waterproofing applied after installation only ever reaches the surface. The strongest protection happens before the marble is even fully polished — at the grinding stage, using Dush Densi Max Ultra.
Most marble waterproofing advice online describes what to do after the floor is already installed. That is the wrong starting point. The strongest, most permanent waterproofing for marble happens before the floor is finished — specifically, at the grinding stage during polishing, before the final coats of polish are applied. This guide explains exactly why, and the correct sequence to follow.
To waterproof marble before laying it on a floor: apply Dush Hidro SST to all six sides of every slab before installation — this stops moisture from migrating in through the back and edges. Then, during the polishing process, apply Dush Densi Max Ultra penetrating densifier at the 80-grit grinding stage — this permanently closes the marble's internal pore structure from above. Together they waterproof the marble from every direction before the floor is ever walked on.
Marble Needs Waterproofing From Two Directions
Water threatens marble flooring from two completely separate directions, and each requires a different product applied at a different point in the installation process. Most people only think about the top surface — but the substrate beneath the marble is just as important.
Substrate Moisture
Moisture from the cement screed, sand bed, or adhesive layer migrates upward into the marble's pores after installation. As it evaporates at the surface, it deposits dissolved salts — visible as white patches called efflorescence.
This must be stopped before the slab is laid — once installed, the only fix is removal and replacement.
→ Dush Hidro SST — all 6 sides before layingSurface Absorption
Water, turmeric, oil, and other liquids land on the marble's top surface daily once it is in use. Untreated marble absorbs these within 30 to 120 seconds through its open pore structure.
This must be closed at the grinding stage — when porosity is at maximum, before the final polish seals the surface pore openings partially shut.
→ Dush Densi Max Ultra — applied at 80-grit grinding stageTreating only one direction leaves marble vulnerable from the other. A floor with Hidro SST on the back but no Densi Max Ultra on top will still stain from turmeric and oil within months. A floor with Densi Max Ultra on top but no Hidro SST underneath will still develop efflorescence from substrate moisture. Both are necessary, and both must happen before or during installation — not after.
Why Waterproofing Before Laying Beats Waterproofing After
Waterproofing marble before laying — specifically at the grinding stage during polishing — provides deeper and more permanent protection than any post-installation treatment, because marble's porosity is at its maximum at this stage, before final polish grits begin closing the surface pore openings. Post-installation sealers can only reach the pores that remain open after polishing is complete — a smaller, shallower target than what pre-installation treatment reaches.
| Factor | Waterproofed Before Laying (Densi Max Ultra at grinding stage) | Waterproofed After Installation (surface sealer only) |
|---|---|---|
| Marble porosity at treatment | Maximum — 80-grit stage, pores fully open | Reduced — polish has partially closed surface pores |
| Penetration depth | Full internal pore structure | Surface pore openings only |
| Mechanism | Chemical bond inside the stone | Physical barrier at pore entry points |
| Permanence | Permanent — never needs reapplication | Temporary — wears off in 1–3 years |
| Protection from day one of use | Yes — complete before installation finishes | Only if applied immediately after — often delayed |
| Substrate moisture protection | Requires separate Hidro SST step on slab backs | Cannot address — substrate already covered |
The single most important fact in this comparison: marble porosity changes during the polishing process itself. At 80 grit, the surface is rough and the pore network is fully exposed. As polishing continues through finer grits — 400, 800, 1500, 3000 — the polishing compounds and mechanical action partially close the surface pores, creating the smooth, reflective finish marble is known for. A densifier applied after this process is complete simply has less open pore area to penetrate.
Why the 80-Grit Grinding Stage Is the Correct Moment
The 80-grit grinding stage is the correct moment to waterproof marble because this is when the stone's internal pore network is most accessible — the surface has been ground to a rough, open texture, but no polishing compound has yet begun closing the pores for shine. Applying Dush Densi Max Ultra at this exact stage allows the deepest possible penetration before the window closes.
This is also why applying Dush Densi Max Ultra repeatedly — until the marble visibly stops absorbing the product — is the correct technique. The marble itself signals when the available pore volume at that stage has been filled. For higher-porosity varieties such as Statuario or soft Carrara, reapplying at 120 and 180 grit captures any pore volume that becomes newly accessible as grinding continues, before the window closes for good.
Dush Densi Max Ultra — Waterproofing From Inside the Marble, Before Installation Finishes
Dush Densi Max Ultra is an ultra-premium penetrating densifier designed to be applied during marble installation, at the 80-grit grinding stage. It penetrates the stone's internal pore structure and chemically reacts with the calcium minerals inside, forming a permanent hydrophobic crystalline matrix. This waterproofs the marble from within — before it has ever been walked on, mopped, or exposed to a single spill — making it the correct waterproofing method to specify at the point of installation, not afterward.
DUSH DENSI MAX ULTRA
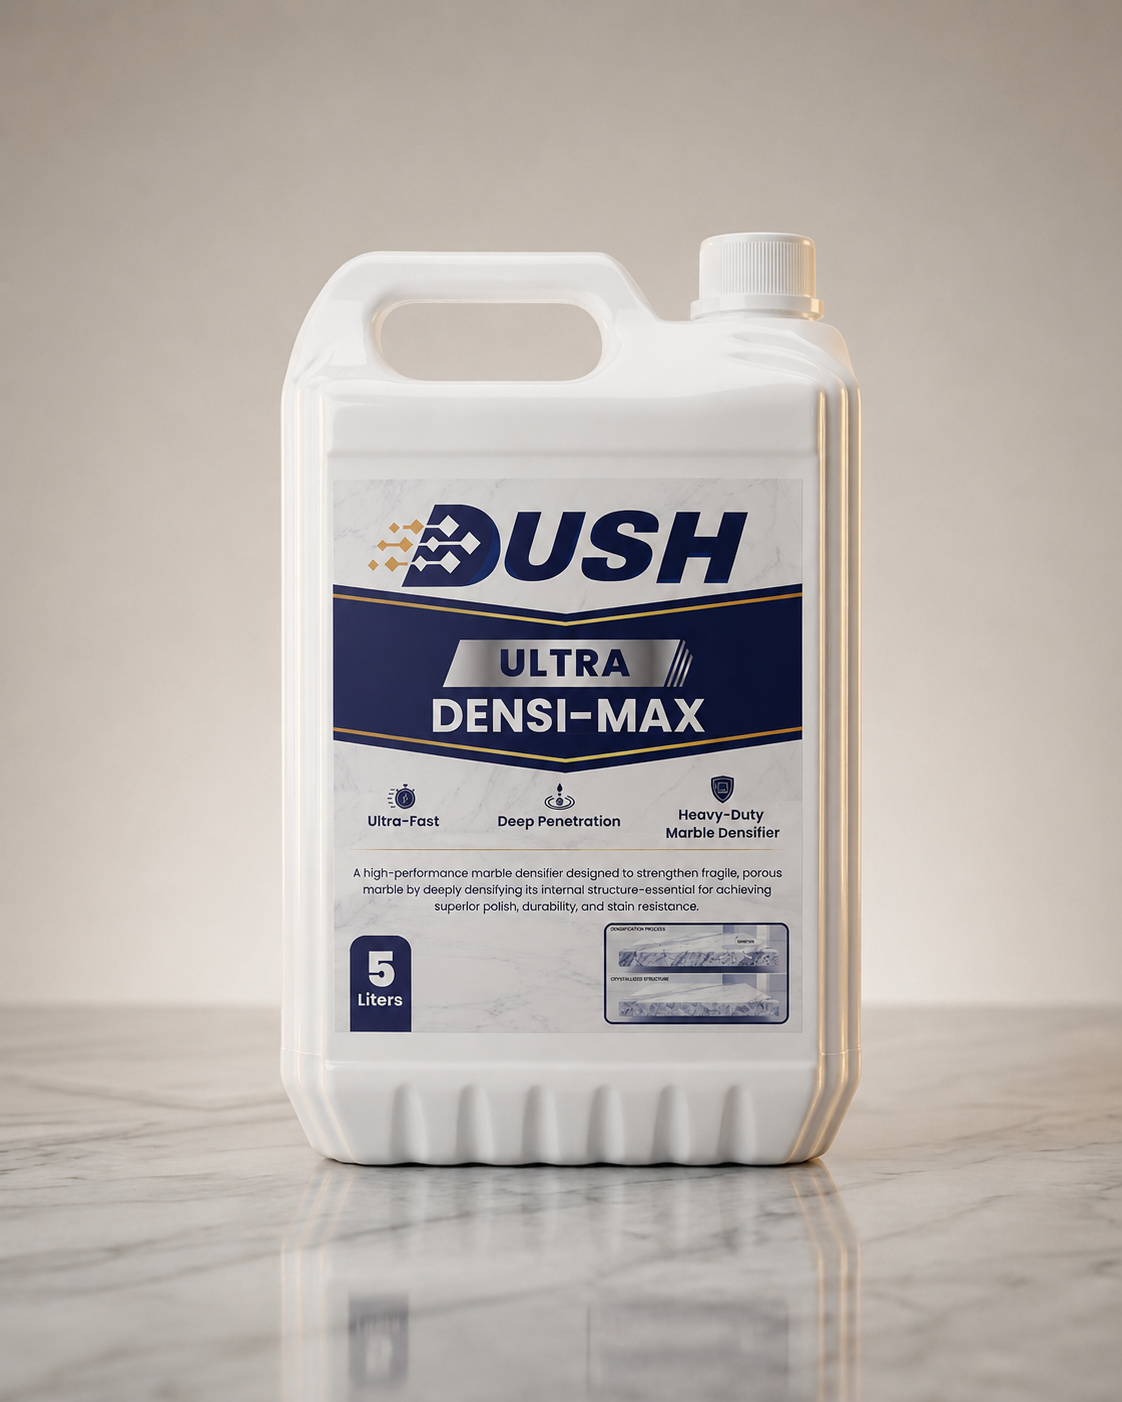
Most marble waterproofing products are formulated to be applied after the floor exists — convenient for retrofitting, but limited in what they can achieve. Dush Densi Max Ultra is engineered specifically for application during the grinding and polishing process, while the marble's pore network is still maximally open. This timing is what makes the difference between protection that lasts a few years and protection that lasts the life of the floor.
Once chemically bonded inside the stone, the marble is waterproof from above before a single drop of water, turmeric, or oil has ever touched it. There is no gap, no delay, no installation period during which the new floor sits unprotected. By the time the room is in use, the waterproofing has already been complete for weeks.
- ★Applied before the floor is in use: Waterproofing is complete before the marble experiences its first spill, footstep, or cleaning cycle
- ★Maximum pore depth penetration: Applied at 80 grit when porosity is highest — reaches internal pore depths unreachable after final polish
- ★Permanent chemical bond: Forms a hydrophobic crystalline matrix inside the marble's pore structure — does not wear off from traffic or cleaning
- ★Improves polish quality: Strengthens the surface from within, contributing to a richer, longer-lasting mirror or honed finish
- ★No appearance change: Clear, no film, no alteration to the marble's natural colour or veining
- ★Italian formulation, Indian conditions: Backed by VITO — Italian stone care expertise applied to Italian marble India installation practice and climate demands
The Complete Pre-Installation Waterproofing Sequence
The full sequence: clean and prepare slab backs → apply Dush Hidro SST to all six sides → 24 hours drying → lay the marble using a low-moisture bedding method → grind to 80 grit → apply Dush Densi Max Ultra in 3–5 coats, repeating until the marble stops absorbing → continue polishing to final finish → confirm with the water drop test. Every step happens before the floor is opened to daily use.
Clean and Inspect Slab Backs
Before any waterproofing product is applied, ensure the back and sides of each slab are clean, dry, and free of fabrication dust or residue. Contamination at this stage prevents correct product penetration.
Apply Dush Hidro SST — All 6 Sides
Apply Dush Hidro SST undiluted to the back, all four edges, and (lightly) the top of each slab. Two coats. This step happens at the fabrication yard or job site, before any slab touches the floor.
→ This is the only step that protects against substrate moisture migration
Allow 24 Hours Full Drying
Do not lay slabs until Hidro SST has fully cured. In humid conditions, particularly during monsoon, extend this to 36–48 hours to ensure complete drying before installation begins.
Lay Marble Using Low-Moisture Bedding
Use a polymer-modified bedding compound such as Dush Stonebed rather than traditional wet sand-cement mix — this reduces the moisture load the marble is exposed to from below during installation itself.
Grind to 80 Grit
Begin the polishing process. Grind the marble surface to 80 grit — this is the critical waterproofing window. The surface must be clean, dry, and free of grinding slurry before the next step.
Apply Dush Densi Max Ultra — 3 to 5 Coats
Apply Dush Densi Max Ultra undiluted. Allow 15–20 minutes penetration per coat, remove all excess before drying, and repeat until the marble stops absorbing the product. This is the core waterproofing step for the top surface.
→ Higher-porosity marble (Statuario, soft Carrara) needs more coats
Continue Polishing to Final Finish
Proceed through 120, 180, 400, 800, 1500, 3000 grit to the desired finish — polished or honed. Densi Max Ultra does not interfere with the polishing process and contributes to a deeper, longer-lasting shine.
Confirm With the Water Drop Test
Before the floor is opened to use, pour 3–4 drops of water on the finished marble. Beading for 5+ minutes confirms the waterproofing is complete and the floor is ready for daily life.
What Happens If You Skip Pre-Installation Waterproofing
Skipping pre-installation waterproofing causes two separate problems that compound over time: from below, substrate moisture migrates into the unprotected stone and evaporates at the surface, depositing visible white salt patches (efflorescence); from above, the open pore structure absorbs turmeric, oil, and water from day one of use, leading to staining within weeks and progressive yellowing within months. Both problems are significantly harder and more expensive to reverse after the fact than they would have been to prevent.
This is the pattern repeated across countless Indian marble installations: spectacular-looking floor at handover, first visible staining within 2–6 months of daily kitchen use, white salt patches appearing after the first monsoon season, and a progressive decline in appearance that owners attribute to "marble just not lasting" — when the actual cause was the absence of waterproofing at the point of installation.
Reversing this after the fact is possible but always more involved than prevention would have been: existing staining requires poultice treatment with Dush Stain-Ex, efflorescence requires specialised cleaning and then retrospective Hidro SST application where physically accessible, and the marble must still then receive Densi Max Ultra at the next professional polishing cycle to achieve the permanent waterproofing it should have had from the start.
Confirming the Waterproofing Worked Before the Floor Goes Into Use
Before handover, perform the water drop test on the finished marble: pour 3–4 drops of plain water on the surface. If they bead and remain for 5 or more minutes without absorbing, the Densi Max Ultra waterproofing has worked correctly. If they absorb within 30–120 seconds, additional coats are needed before the floor should be considered finished and ready for use.
Not Ready for Handover
Water absorbs within 30–120 seconds. The marble surface darkens. This indicates insufficient Densi Max Ultra coats were applied, or the application happened too late in the polishing process. Additional coats are needed before the floor is considered complete.
Ready for Handover
Water beads and sits on the surface for 5+ minutes without absorbing. The waterproofing is permanent and complete. The floor can be safely used from day one without any vulnerable transition period.
This test should be a standard part of every marble installation handover in India — performed before the client moves in, before the kitchen is used for the first time, and documented as confirmation that the waterproofing investment was applied correctly.
Test Densi Max Ultra Before You Commit to a Full Installation
Send a piece of marble from your upcoming project to Dush. We apply Densi Max Ultra at the correct grinding stage and show you the water drop test result on your actual stone — before the floor is laid.
Request Free Sample Test →Related Dush Guides and Products
Waterproofing Marble Before Laying — Questions Answered
How do I waterproof marble before laying it on a floor?
Why does marble need to be waterproofed before installation, not after?
What is Dush Densi Max Ultra and how does it waterproof marble?
Do I need to waterproof the back of marble slabs too?
What happens if marble is not waterproofed before laying?
At what stage of marble installation should waterproofing be applied?
External References
Waterproof Your Marble Before It Ever Touches Daily Use
Dush Densi Max Ultra applied at the grinding stage closes Italian marble pores permanently — before the floor is finished, before the first spill, before the first footstep. Specify it for your next installation.