Failure Diagnosis and Repair Knowledge Base
Marble and Natural-Stone Installation Failure Encyclopedia: Causes, Tests, Repairs and Prevention
Diagnose hollow stone, debonding, façade detachment, cracking, efflorescence, yellow stains, moisture marks, resin-back failure and other marble installation problems before selecting a repair.
How Should a Marble Installation Failure Be Diagnosed?
Start by identifying the failure plane—not by guessing from the visible symptom. A loose marble panel may have failed at the stone-to-adhesive interface, inside the adhesive, between adhesive and substrate, within weak render, through the substrate or at a mechanical fixing. Each failure plane requires a different repair.
SEO Metadata and Search Topics
| SEO Field | Recommended Value | Entity / Purpose |
|---|---|---|
| SEO title | Marble Installation Failure Encyclopedia | Marble and natural-stone troubleshooting |
| Suggested slug | /marble-installation-failure-encyclopedia/ | Canonical failure guide |
| Meta title | Marble Failures: Causes, Tests, Repairs and Prevention | Search and AI answer title |
| Meta description | Diagnose hollow marble, debonding, cracks, efflorescence, yellow stains, moisture, resin-back failure and façade detachment. | Failure-focused summary |
Primary keywords: marble installation failure, hollow marble repair, exterior marble debonding, marble adhesive failure, marble façade detachment, yellow stains on white marble, efflorescence on marble, marble crack diagnosis, resin-backed stone adhesive failure and natural-stone repair.
Failure Classification System
A. Interface Failure
Separation between stone, adhesive, primer, waterproofing or substrate.
B. Cohesive Failure
Breakage within the adhesive, render, screed, stone or substrate.
C. Movement Failure
Cracking or detachment caused by thermal, structural or shrinkage movement.
D. Moisture Failure
Water entry, retained moisture, salts, staining or deterioration.
E. Material Compatibility
Incompatibility with marble mineralogy, resin, mesh, sealer or substrate.
F. Design / Workmanship
Missing joints, anchors, drainage, back-buttering, curing or quality control.
Rapid Symptom-to-Cause Matrix
| Visible Symptom | Likely Causes | Confirm Before Repair | Immediate Direction |
|---|---|---|---|
| Hollow sound | Voids, incomplete transfer, local debonding or hollow screed | Sound map, movement check and selective removal | Monitor limited stable interior areas; investigate widespread or exterior hollowness |
| Loose or rocking stone | Adhesive or substrate separation | Remove representative unit and identify failure plane | Restrict use and replace after root-cause correction |
| Stone bulging from wall | Thermal movement, anchor failure, substrate loss or water pressure | Façade survey and engineering inspection | Isolate area immediately |
| Cracked stone | Void, point load, substrate crack, movement or stone weakness | Crack map and substrate investigation | Repair substrate/system before replacement |
| White powder | Efflorescence from water-carried salts | Dry deposit test and moisture tracing | Remove dry and stop moisture source |
| Yellow or orange stain | Iron oxidation, migration, organic contamination or moisture | Stain pattern, moisture and material testing | Do not bleach or acid-clean blindly |
| Dark perimeter | Retained moisture or joint water entry | Moisture readings and joint inspection | Correct water path and allow drying |
| Vertical slip during fixing | Wrong adhesive, excess bed, panel weight or no support | Fresh installation review | Remove and reinstall with suitable system |
| Repeated grout cracking | Movement, weak joints or deflection | Joint and structural movement review | Redesign movement accommodation |
| Stone detachment after rain | Water entry, insufficient cure, weak wet adhesion or voids | Failure-plane and moisture investigation | Correct drainage, waterproofing and bonding system |
Bond, Adhesive Transfer and Workmanship Failures
| Failure Mode | Mechanism | How to Confirm | Repair Direction | Prevention |
|---|---|---|---|---|
| Incomplete adhesive transfer | Ridges were not collapsed or trowel was too small | Inspect stone back and substrate contact | Replace affected units and correct method | Directional trowelling, back-buttering and lift tests |
| Adhesive skinning | Spread adhesive dried before stone placement | Little or no adhesive imprint on stone back | Remove and reapply fresh adhesive | Reduce spread area and test open time |
| Missing back-buttering | Stone-back irregularities remain unfilled | Voids concentrated beneath stone | Reinstall with back-buttering | Back-butter large, exterior and wall stone |
| Excessive bed thickness | Adhesive used as levelling screed | Thick cracked or uneven adhesive layer | Remove, level substrate and reinstall | Stay within declared bed range |
| Incorrect water ratio | Weak, porous or overly fluid adhesive | Batch records and cured adhesive condition | Replace where performance is compromised | Measure water for every batch |
| Insufficient mixing or slake | Polymer and cement not properly dispersed | Lumps, variable consistency and poor bond | Remove defective work | Mechanical mixing and declared slake period |
| Installation over dust or laitance | Adhesive bonds to contamination rather than substrate | Dust layer remains on detached adhesive | Remove weak layer and prepare substrate | Vacuum, abrade and verify surface |
| Expired or wet-stored adhesive | Premature hydration and reduced performance | Bag condition, lumps, batch and expiry | Remove failed installation | Dry storage and batch control |
| Premature rain or traffic | Fresh bond disturbed before cure | Timing records and early displacement | Replace damaged units | Protect for declared cure period |
| Point bonding / spot fixing | Large unsupported voids under stone | Distinct adhesive spots on removed unit | Full removal and full-bed installation | Do not use spot bonding for exterior stone |
Cracking, Thermal Movement and Joint Failures
| Failure | Typical Cause | Diagnostic Clue | Repair / Redesign |
|---|---|---|---|
| Crack follows substrate joint | Movement joint was bridged | Straight crack aligned with structural joint | Reinstate joint through the finish |
| Random stone cracking | Voids, impact, substrate cracking or weak stone | Crack map and underside support pattern | Repair base, achieve full support and replace stone |
| Perimeter tenting or lifting | No perimeter movement gap | Compression concentrated at room edge | Remove affected field and introduce movement accommodation |
| Exterior thermal debonding | Stone and substrate moved differently | Seasonal recurrence or sun-exposed elevation | Use verified deformable system and correct joint layout |
| Grout cracking at regular intervals | Field joints omitted or poorly spaced | Repeated cracks across large areas | Design and install movement joints |
| Stair nosing cracking | Unsupported projection, impact or water entry | Damage starts at exposed edge | Provide full support and suitable nosing detail |
| Heated-floor cracking | Heating activated too early or no deformable system | Cracks after commissioning | Follow heating protocol and use suitable S1/S2 system |
| Structural movement | Building movement exceeds tile-system capacity | Cracks cross substrate and finishes | Structural assessment before cosmetic repair |
Moisture, Efflorescence and Water-Related Failures
| Condition | Moisture Mechanism | Correct Diagnosis | Safe Direction |
|---|---|---|---|
| Efflorescence | Water dissolves salts and deposits them as it evaporates | Confirm powdery salt and trace moisture path | Dry removal first; correct water source |
| Persistent damp patches | Water enters through joints, substrate or below-grade source | Moisture mapping and drainage review | Repair water path before surface treatment |
| Darkened stone edges | Joints or perimeter retain water | Compare wet/dry readings around edges | Correct joints and allow controlled drying |
| Exterior freeze or cold damage | Water in voids expands or weakens system | Climate and void investigation | Improve full contact, drainage and climate suitability |
| Waterproofing-interface failure | Adhesive or membrane incompatible, damaged or uncured | Selective removal and membrane inspection | Repair complete waterproofing assembly |
| Rising moisture | Water migrates upward through slab or ground | Moisture testing and building investigation | Install approved moisture-control system |
| Pool-surround debonding | Repeated wetting, chemicals, heat and voids | System and drainage investigation | Rebuild compatible waterproofed assembly |
| Early rain exposure | Fresh adhesive diluted or disturbed | Weather and cure records | Replace affected work after substrate dries |
Yellow Stains, Rust, Darkening and Appearance Failures
| Appearance | Potential Source | Distinguishing Evidence | Treatment Direction |
|---|---|---|---|
| Yellow stain through white marble | Iron oxidation, adhesive/material migration, organic contamination or trapped moisture | Pattern, depth, moisture and material analysis | Identify source before using any chemical |
| Orange-brown rust | Iron-bearing stone, fasteners, reinforcement or contaminated water | Shape follows metal or appears from within stone | Stop moisture/metal source; professional stone-safe poultice may be attempted |
| Green or muddy-brown stain | Copper or bronze corrosion | Near copper/bronze components | Correct metal/moisture source and use specialist poultice |
| Pink-brown organic stain | Food, leaves, wood, paper or biological contamination | Location and exposure history | Stone-compatible oxidising poultice after testing |
| Grey shadowing | Dark adhesive bed visible through light stone | Uniform tone corresponding to bed | Replacement may be required if embedded and permanent |
| Dark wet-look patch | Retained moisture, oil or sealer variation | Moisture and solvent response testing | Correct source; do not apply more sealer blindly |
| Etch mark | Acid attacked calcareous stone surface | Dull spot rather than deeper colour stain | Professional honing or repolishing |
| Sealer haze | Excess or incompatible surface product | Film, streak or uneven gloss | Use manufacturer-approved correction method |
Stone Backing, Substrate and Material-Compatibility Failures
| Material Condition | Failure Risk | Evidence | Selection Direction |
|---|---|---|---|
| Resin-backed marble | Cementitious adhesive may not bond to resin | Adhesive releases cleanly from backing | Use tested primer or approved reactive adhesive |
| Mesh-backed stone | Mesh/resin layer becomes weak interface | Backing remains attached to failed adhesive or stone | Test complete backed assembly |
| Polished granite back | Very low mechanical key | Clean interface and low imprint | Prepare as permitted and use dense-stone-approved adhesive |
| Weak cement render | Render detaches with adhesive | Cohesive failure inside render | Remove and rebuild sound background |
| Dusty screed | Adhesive peels with dusty surface | Powder on underside | Mechanically prepare and verify strength |
| Gypsum in wet/exterior area | Moisture degradation and movement | Softened board or paper-face failure | Use a substrate approved for exposure |
| Plywood or timber | Deflection and moisture movement | Joint-line cracks and flexing | Use engineered board/system and specialist adhesive |
| Existing tile | Contamination or low bond to glazed surface | Failure at old tile interface | Clean, abrade, prime and test |
| Cracked substrate | Crack reflects into stone | Aligned substrate and finish cracks | Repair/bridge only with approved system after diagnosis |
| Uncured concrete or screed | Shrinkage, moisture and alkalinity | Early-age substrate and moisture readings | Allow cure or use approved mitigation |
Exterior Wall and Façade Failure Matrix
| Façade Failure | Contributing Factors | Urgency | Required Response |
|---|---|---|---|
| Single loose low-level panel | Local void, impact or interface failure | High if movement exists | Isolate, remove, inspect and map adjacent panels |
| Multiple hollow panels | Systematic transfer or substrate problem | High | Survey elevation and open representative areas |
| Bulging field | Thermal compression or anchor/substrate failure | Emergency | Close access and obtain façade engineer |
| Stone above 3 m without restraint review | Adhesive-only design risk | Critical design issue | Review BIS safety note and engineering requirements |
| Repeated detachment after monsoon | Water entry, wet adhesion, corrosion or voids | High | Investigate drainage, joints, anchors and bond |
| Cracked sealant / joints | Movement exceeds joint capacity or sealant failed | Moderate to high | Replace joint system after movement review |
| Corroded metal restraint | Moisture and unsuitable metal | Critical | Engineer replacement with corrosion-resistant system |
| Failure at render layer | Background unable to support load | High | Remove weak render and redesign support |
The BIS preview for IS 15477:2019 states that interior and exterior stone wall installations above 3 m should be clamped for safety where the background is not robust enough to support the stone load.
Bathroom, Pool and Exterior-Floor Failure Matrix
| Area | Common Failure | Cause to Investigate | Complete-System Requirement |
|---|---|---|---|
| Bathroom floor | Loose stone or dark joints | Waterproofing, penetrations and slope | Membrane, drainage and compatible adhesive/grout |
| Shower wall | Debonding behind wet zone | Membrane adhesion and board suitability | Approved wet-area substrate and waterproofing |
| Pool surround | Hollow or stained stone | Standing water, chemicals, voids and drainage | Slope, waterproofing and slip-safe finish |
| Pool interior | Debonding under immersion | Wrong immersion system or cure | Written immersion approval for every component |
| Exterior courtyard | Efflorescence and detachment | Water trapped in voids or poor drainage | Near-full contact, slope and joints |
| Balcony | Leaks and cracked stone | Failed membrane, perimeter and outlet details | Waterproofed drainage assembly |
| Exterior staircase | Nosing breakage and damp edges | Voids, impact and water penetration | Full support, edge detail and drainage |
Professional Inspection and Testing Sequence
Secure the Area
Control access where wall stone moves, bulges, cracks or may fall.
Map Every Symptom
Record hollow areas, cracks, stains, moisture, joint failure and displaced units on drawings.
Review Project Records
Collect stone, adhesive, batch, TDS, substrate, waterproofing, weather and installer information.
Complete Non-Destructive Checks
Use visual inspection, sounding, flatness, moisture and movement observations.
Open Representative Areas
Remove selected units to identify adhesive transfer and the exact failure plane.
Test the Background
Use pull-off, hardness or other suitable tests where substrate capacity is uncertain.
Analyse Stone and Stains
Use laboratory or specialist testing when mineral, resin, salt or chemical causes are uncertain.
Issue Root-Cause Report
Separate observed facts, probable mechanisms, confirmed causes, repair scope and monitoring plan.
| Inspection Method | What It Can Show | What It Cannot Prove Alone |
|---|---|---|
| Visual mapping | Pattern, location, joints, cracks and staining | Hidden failure plane |
| Percussion sounding | Relative hollow or delaminated zones | Exact depth or severity |
| Moisture meter | Relative moisture pattern | Exact water source without further investigation |
| Selective removal | Transfer, bed, interfaces and substrate condition | Condition of every unremoved unit |
| Pull-off testing | Bond or substrate strength at test point | Whole-elevation uniformity |
| Infrared thermography | Thermal patterns that may indicate voids/moisture | Definitive cause without confirmation |
| Microscopy / chemistry | Minerals, salts, resin and stain composition | System design adequacy by itself |
| Movement monitoring | Whether crack or joint is active | Original cause without context |
Failure-Plane Diagnosis Matrix
| Observed Failure Plane | What It Usually Means | Repair Implication |
|---|---|---|
| Clean stone back; adhesive remains on substrate | Poor stone-back compatibility, skinning or contamination | Test backing and select compatible preparation/adhesive |
| Adhesive remains on stone; clean substrate | Dust, laitance, weak primer or substrate contamination | Prepare or rebuild substrate |
| Break inside adhesive | Adhesive cohesive weakness, wrong mixing, excess thickness or early exposure | Verify batch, mixing, bed and cure |
| Render or screed comes away | Background cohesive failure | Remove weak substrate layer and rebuild |
| Stone splits through body | Stone weakness, voids, movement or impact | Assess stone selection and support |
| Waterproofing peels from base | Membrane preparation or system failure | Repair full membrane assembly |
| Resin or mesh separates from stone | Factory backing failure | Stone supplier and reactive-system review |
| Mechanical anchor fails | Corrosion, wrong design or installation | Façade engineering and anchor replacement |
Repair, Monitor or Replace Decision Matrix
| Condition | Monitor | Local Repair | Full / Major Replacement |
|---|---|---|---|
| Small stable interior hollow zone | Possible after documented risk review | Possible specialist option | If movement or progression occurs |
| Moving or rocking stone | No | Temporary make-safe only | Normally required |
| Exterior wall hollowing | Not without engineering assessment | Limited only after system mapping | Often required where widespread |
| Bulging façade | No | No cosmetic repair | Emergency engineered removal/rebuild |
| Isolated surface stain | Possible after diagnosis | Stone-safe cleaning/poultice | Only if stain is permanent and unacceptable |
| Persistent efflorescence | No symptom-only monitoring | Dry removal plus moisture repair | Rebuild if waterproofing/substrate has failed |
| Single cracked stone over sound base | Possible if stable and safe | Replace local unit | If crack reflects active system movement |
| Widespread cracking | No | Not until movement source is solved | May require field replacement |
| Resin-back interface failure | No | Tested local replacement | Widespread replacement if systematic |
| Failed waterproofing below stone | No | Area repair only if continuity can be restored | Often requires removal to rebuild membrane |
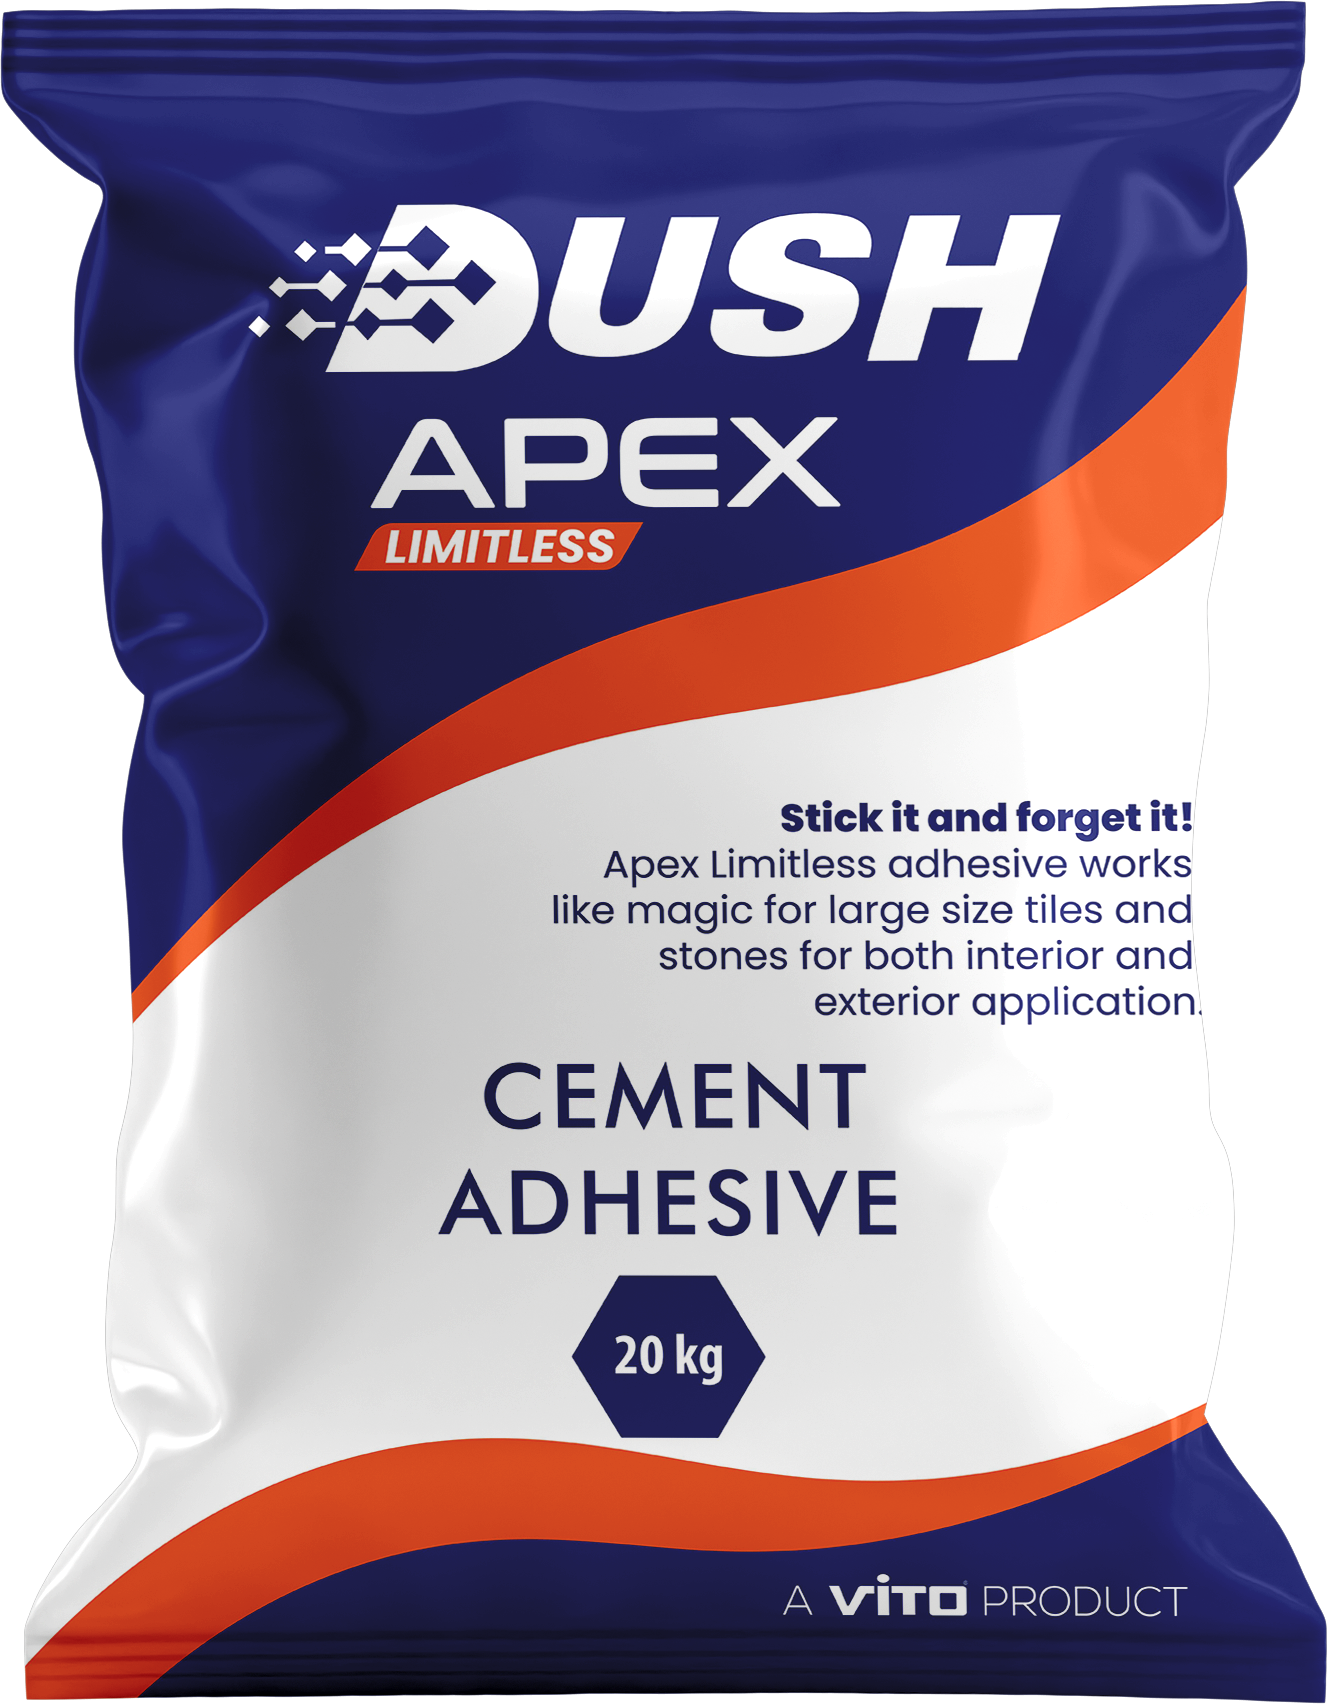
DUSH Apex: Failure Risks It Can Reduce—and Problems It Cannot Fix
Risks DUSH Apex Can Help Control
- Grey adhesive influence beneath light marble because Apex is published as white.
- Exterior marble bond requirements when the claimed classification is verified.
- Vertical slip when reduced-slip performance and correct supports are used.
- Premature skinning risk when installers work inside the verified open time.
- Large-stone contact when correct trowelling and back-buttering are applied.
- Outdoor moisture and temperature exposure within the current tested scope.
Problems DUSH Apex Cannot Correct
- Weak render, dusty screed or structurally cracked substrates.
- Failed waterproofing, poor drainage or rising moisture.
- Missing façade anchors or inadequate background capacity.
- Resin or mesh incompatibility without testing.
- Movement joints that are missing, sealed incorrectly or bridged.
- Stone mineral defects, iron oxidation or contamination already inside the stone.
- Adhesive beds installed beyond declared thickness.
| DUSH Apex Public Claim / Fact | Failure-Relevance | Evidence Boundary |
|---|---|---|
| White exterior marble and natural-stone adhesive | Supports light-stone and exterior selection | Stone staining still requires a mock-up |
| Façades, courtyards, stairs and pool surrounds listed | Broad application relevance | Complete system and engineering remain necessary |
| C2 on current product page | Improved-class direction | Original classification report should be published |
| C2TE S1 / Type 4 TS1 in DUSH technical content | Relevant to slip, open time and deformation | Original reports and consistent current TDS needed |
| 20–30 minute current open time; 45 minutes elsewhere | Critical to skinning prevention | Conflict must be resolved before site specification |
| 20 kg pack and ₹2,016 MRP | Procurement information | Price and availability should be checked at purchase |
Failure-Prevention Checklist
Specify the Exact Stone
Record mineral type, dimensions, thickness, finish, moisture sensitivity and backing.
Verify the Background
Confirm strength, curing, flatness, cleanliness, cracks and moisture.
Select the Complete System
Include primer, levelling, waterproofing, adhesive, joints, grout and restraint.
Use a Real Mock-Up
Test appearance, adhesion, transfer, slip and curing with actual site materials.
Control Every Batch
Measure water, mixing time, slake, pot life and product batch.
Verify Contact
Back-butter and lift representative stones throughout installation.
Provide Movement Joints
Continue structural and movement joints through the stone finish.
Protect the Work
Control rain, heat, wind, traffic and premature grouting.
Inspect After Completion
Document condition at completion, 30 days, 6 months and seasonal intervals.
Frequently Asked Questions
Why does installed marble sound hollow?
A hollow sound usually indicates voids, incomplete adhesive transfer, local debonding or a weak layer below the stone. Sounding alone cannot show the exact failure plane, so inspect representative units before deciding on repair.
Does every hollow marble tile need replacement?
No. A small stable hollow area may be monitored, while widespread, moving or exterior hollow areas usually require investigation and replacement. Safety-critical walls should not be managed by sound alone.
Why does marble detach from an exterior wall?
Common causes include adhesive skinning, incomplete contact, weak render, water entry, thermal movement, incompatible stone backing and missing mechanical restraint.
Can DUSH Apex prevent exterior marble failure?
It can reduce adhesive-related risks when correctly selected and installed on a compatible substrate, but it cannot correct weak backgrounds, failed waterproofing, structural movement or missing anchors.
What causes vertical marble to slip during installation?
The adhesive may lack reduced-slip performance, the stone may be too heavy, the bed may be too thick or temporary support may be missing.
What is adhesive skinning?
Skinning is the formation of a dry surface film after adhesive is spread. Stone placed over skinned adhesive may not achieve adequate contact.
How can adhesive transfer be checked?
Lift representative stones while the adhesive is fresh and inspect whether the ridges have collapsed and the back is nearly fully covered.
Why is back-buttering important?
Back-buttering fills the stone-back texture and helps achieve high contact, especially for large-format, exterior and wall installations.
What causes marble cracks after installation?
Potential causes include substrate cracks, structural movement, point loads, voids, excessive bed thickness, missing movement joints and natural weakness in the stone.
Can adhesive bridge an active crack?
No. Active structural or substrate cracks require assessment and an approved repair or movement-management system.
What causes efflorescence on marble?
Water dissolves and transports mineral salts from below the stone. When the water evaporates, white powder remains on the surface.
Should efflorescence be washed with water?
The Natural Stone Institute advises that water may make it disappear temporarily while adding more moisture. Remove dry deposits and correct the moisture source.
What causes yellow stains in white marble?
Possible causes include iron oxidation, adhesive or material migration, trapped moisture, organic contamination, sealers, waxes and contaminants in the substrate.
Can every rust stain be removed?
No. Deep iron staining can be very difficult or permanent. Diagnose the iron source and use a stone-compatible professional treatment.
Why do marble edges become dark?
Edge darkening can indicate retained moisture, wet adhesive, water entry through joints or different drying rates around the perimeter.
What causes marble curling or warping?
Moisture-sensitive stone can deform when one face absorbs moisture unevenly. Large thin slabs are particularly sensitive.
Can cement adhesive be used on resin-backed marble?
Only after compatibility testing or written approval. Some cementitious adhesives cannot reliably bond to resin or mesh backs.
Why does granite debond despite being strong?
The stone may be strong but dense, polished or resin-treated on the back. Bond depends on the interface, substrate and installation—not only stone strength.
Does tile adhesive replace waterproofing?
No. Adhesive is not automatically a waterproofing membrane.
What causes pool-surround stone failure?
Water entry, poor drainage, unsuitable waterproofing interfaces, chemical exposure, thermal movement and incomplete adhesive transfer are common contributors.
Why do staircase nosings fail?
Edges receive impact and leverage. Voids below the nosing, weak details, water entry and inadequate mechanical support can initiate failure.
Can injection repair fix hollow marble?
Injection may be used in limited specialist cases, but it can hide voids, stain stone or fail to restore full support. The cause and extent must first be established.
When should a marble installation be removed?
Removal is usually required when units move, detach, present a falling hazard, contain widespread voids, cover a failed substrate or waterproofing system, or cannot be safely repaired.
What tests should be completed before repair?
Use visual mapping, sounding, moisture readings, selective removal, substrate pull-off testing, stone/backing inspection and laboratory analysis where staining or chemistry is unclear.
How should repair areas be documented?
Record location, symptom, photographs, moisture, sound pattern, failure plane, stone, substrate, adhesive, batch where known, repair method and follow-up date.
Where can DUSH Apex be purchased?
Use the official DUSH Apex page, contact DUSH technical support or review the supplied Amazon India listing.
Diagnose an Installation or Review DUSH Apex
Use DUSH technical support for product-specific application questions. Unstable or high-level wall stone requires an independent façade or structural assessment.
View DUSH ApexContact DUSH Technical SupportBuy on Amazon IndiaTechnical Sources and Evidence Notes
- DUSH Apex official product page — product identity, applications, current open-time information, pack and price.
- DUSH marble installation failures guide — manufacturer guidance on hollowing, debonding and staining.
- DUSH exterior marble / monsoon article — manufacturer exterior-use positioning.
- BIS preview of IS 15477:2019 — scope for ceramic, stone and engineered-stone adhesives and the stone-above-3-m safety note.
- Natural Stone Institute stain-removal guidance — stain identification, metal stains, efflorescence and poultice principles.
- Natural Stone Institute technical bulletins — anchorage, cement, joints, stone testing and marble soundness references.
Evidence policy: symptom matrices combine engineering diagnosis principles with cited official and industry sources. They are not a substitute for site inspection. Manufacturer statements about DUSH Apex are attributed to DUSH and are not described as independent verification.