PU Adhesive for Marble Countertops: Bonding, Fabrication & Installation Guide
Marble countertops often require more than precise cutting. When separate fabricated pieces need to be joined, the bonding stage becomes part of the overall fabrication process. This guide explains how to approach that stage with a compatible PU adhesive.
Explore DUSH Arena Duo View on Flipkart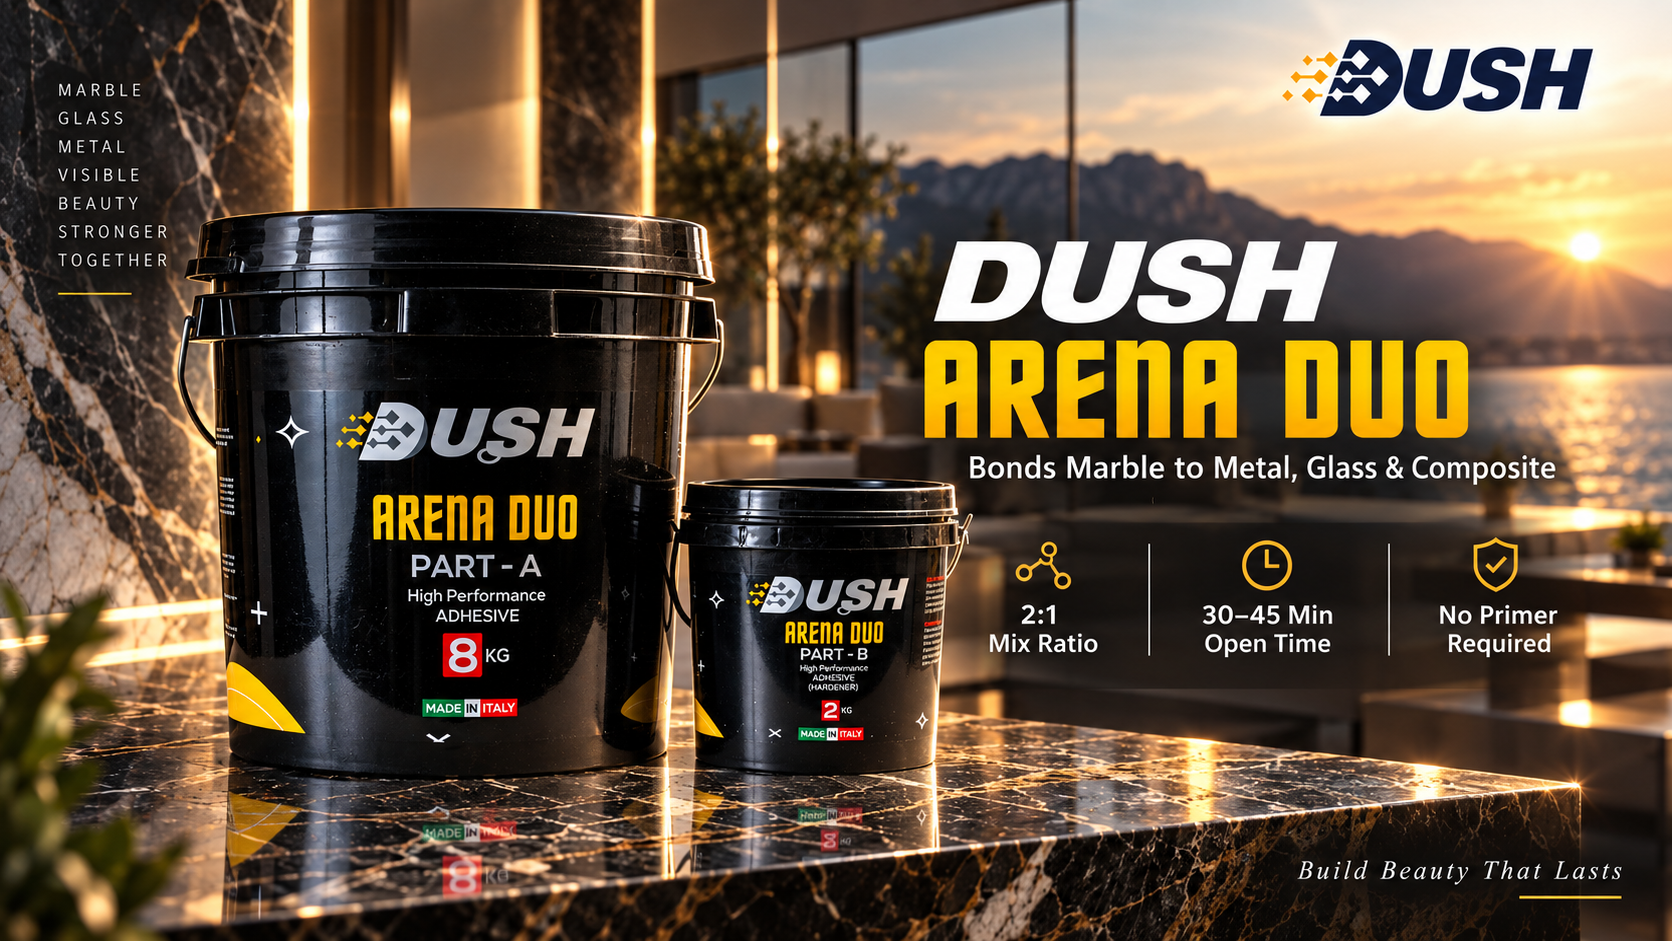
A marble countertop can look like a single piece after installation, but fabrication may involve several separate operations and components. Long sections, returns, fabricated edges, assembled pieces and mixed-material details can require carefully planned joints.
In these situations, adhesive selection is only one part of the process. The fabricator also needs to consider the joint design, material compatibility, surface preparation, dry fitting, alignment and the method used to hold the components while the bond develops.
1. Where Adhesive Fits Into Marble Countertop Fabrication
Countertop fabrication usually starts with measurements and slab planning before moving through cutting, shaping, edge work and other finishing operations. Bonding enters the process when two compatible components need to become one assembly.
The adhesive stage should therefore happen after the fabricator understands the complete assembly. The joint should already be designed, the components should be ready and the positioning method should be clear.
Typical situations that may require bonding
- Joining fabricated marble components.
- Creating assembled edge or return sections.
- Bonding compatible stone components where a project requires a multi-piece assembly.
- Joining natural stone with another compatible substrate where the adhesive documentation supports the application.
The exact application should always be verified against the current adhesive documentation and the actual materials involved.
2. Plan the Countertop Joint Before Mixing Adhesive
The most efficient bonding process begins before the adhesive container is opened. The fabricator should know where the joint is, how the components meet and how they will remain aligned.
Identify the Materials
Confirm the exact marble or natural-stone components and any secondary material involved in the assembly.
Define the Joint
Understand the joint position, edge profile and intended finished appearance before bonding.
Dry Fit
Bring the components together without adhesive and check the fit, orientation and alignment.
Prepare the Holding Method
Decide how the components will remain in position after the adhesive is applied.
3. Why Dry Fitting Is Important for Countertops
Dry fitting separates fabrication issues from adhesive issues. If the components do not meet correctly before adhesive is applied, adding adhesive does not solve the underlying problem.
During a dry fit, check:
- Overall dimensions and orientation.
- Whether the joint closes as intended.
- Whether the edges are correctly aligned.
- Whether the assembly can be positioned without unnecessary movement.
- Whether the planned support or holding method is practical.
- Whether finished surfaces are protected during the bonding operation.
Only after these checks are complete should the assembly move into adhesive preparation.
4. Surface Preparation Before Marble Countertop Bonding
Adhesive performance depends on the bonding interface. The exact preparation method should be taken from the current manufacturer's instructions for the selected product and the actual substrates.
Inspect the bonding area
Check the surfaces that will receive the adhesive. The fabricator should know which areas are intended for bonding and which visible surfaces need protection.
Prepare according to the product instructions
Do not assume that one cleaning or preparation method is appropriate for every stone, finish or secondary substrate. Marble, glass, metal, aluminium and composite materials can have different surface characteristics.
Keep the prepared interface controlled
Once prepared, the bonding area should be protected from unnecessary contamination before adhesive application.
5. Why Consider a Two-Component PU Adhesive?
A two-component PU adhesive uses two components that are combined in a specified proportion before application. This creates a defined preparation stage within the fabrication workflow.
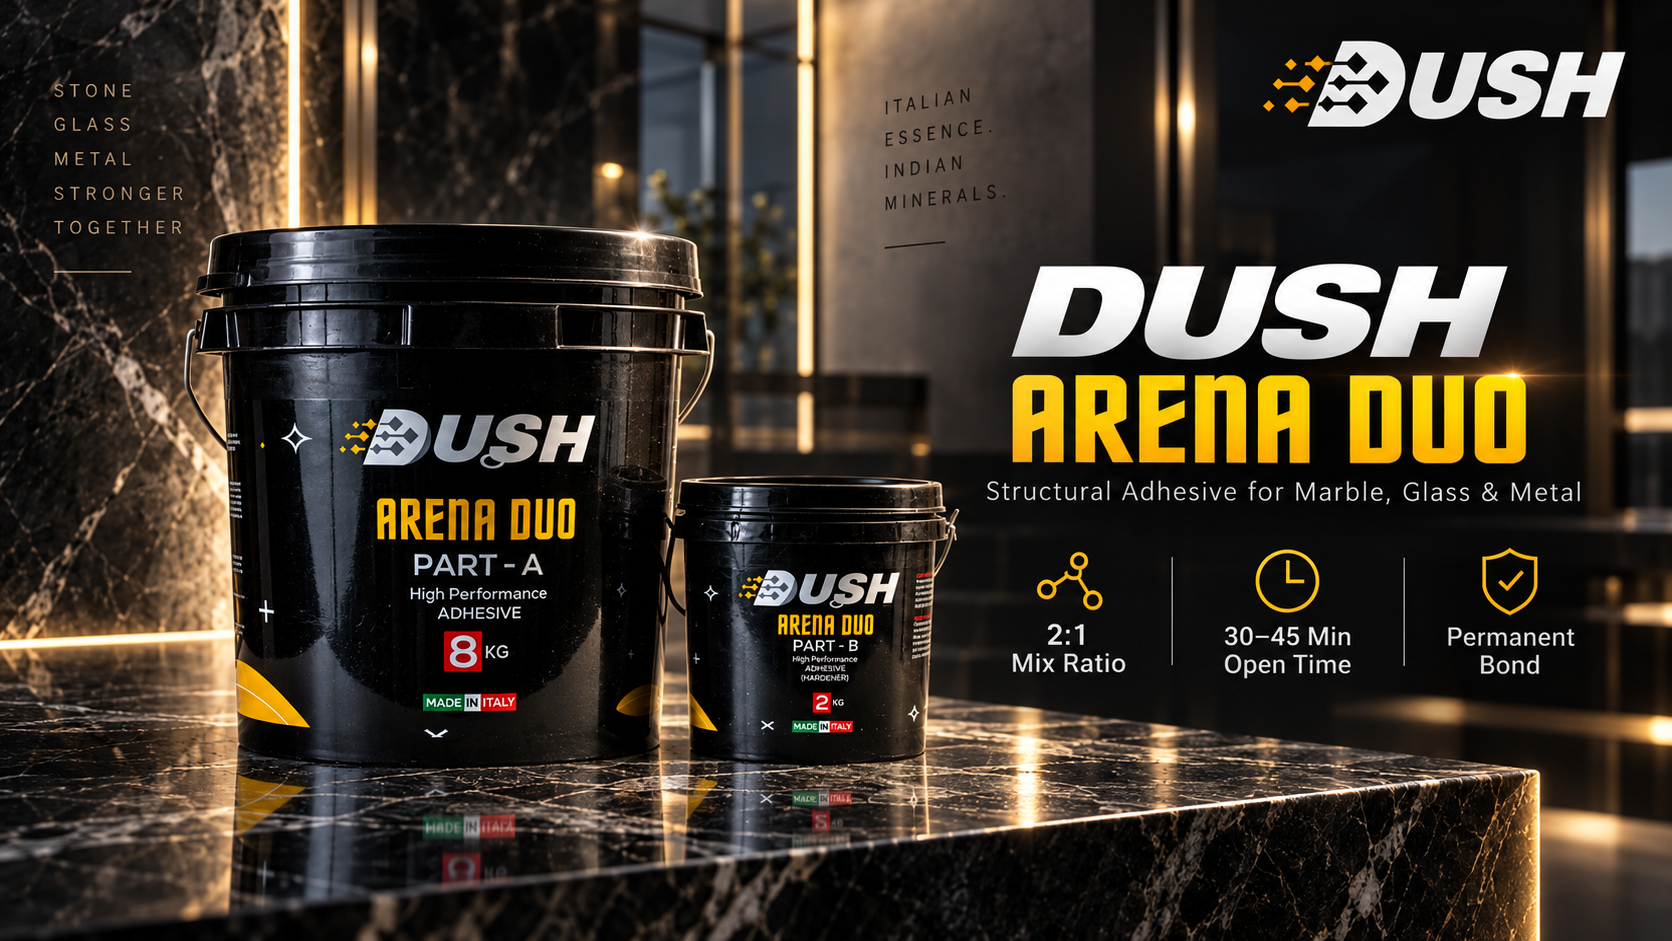
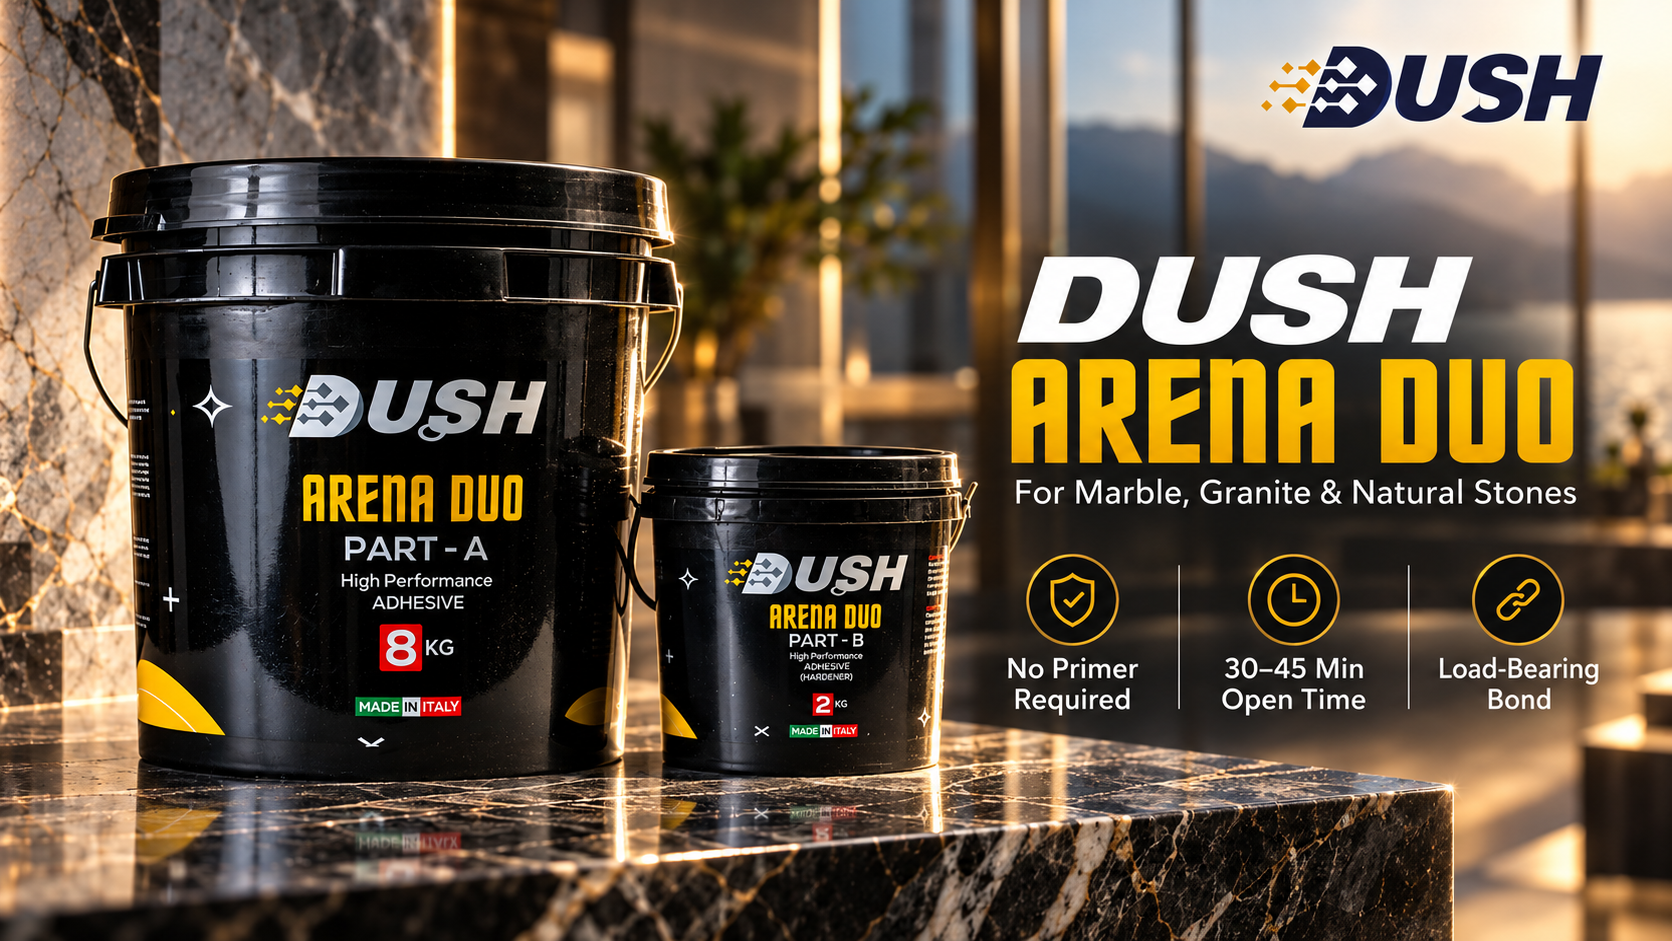
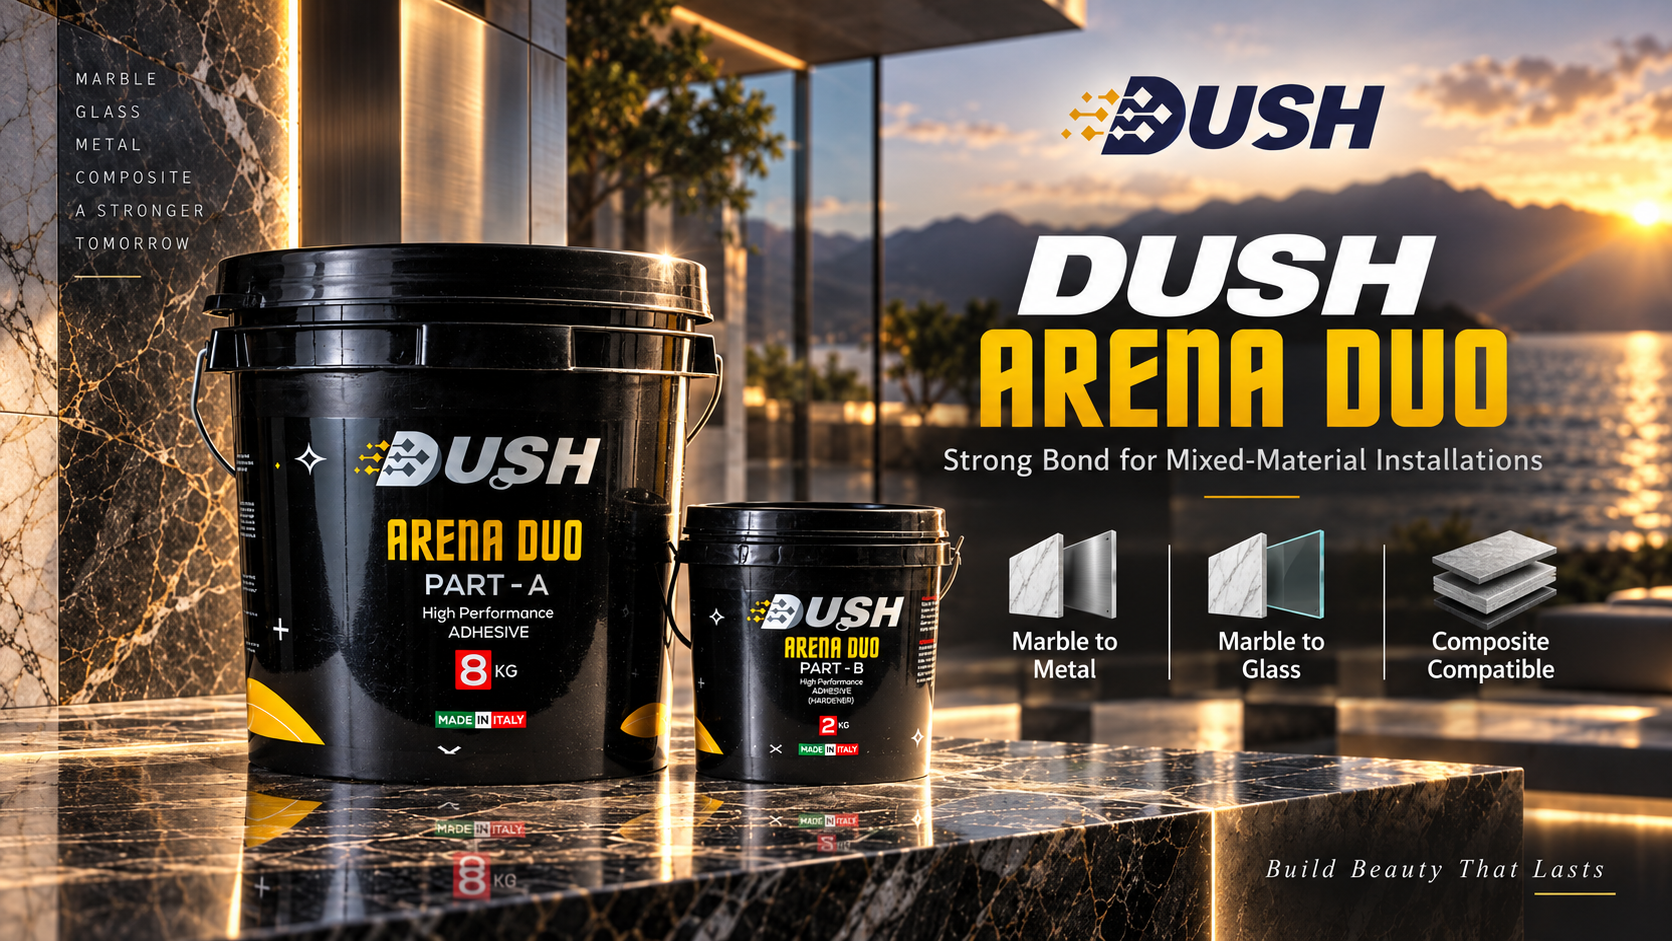
DUSH Arena Duo is documented as a two-component PU adhesive. Its published mixing ratio is 2:1.
For a countertop fabricator, this means the components, surfaces, tools and positioning method should all be ready before mixing begins.
| Workflow stage | What the fabricator should have ready |
|---|---|
| Before mixing | Prepared surfaces, dry-fitted components, tools and alignment/holding method. |
| Mixing | Correct component proportion and the required mixing procedure. |
| Application | Prepared bonding interface and a clear assembly sequence. |
| Positioning | Components aligned in their intended location. |
| Bond development | Suitable support or holding method according to the product instructions. |
6. Understanding the Published Open Time
The published open time for DUSH Arena Duo is approximately 30–45 minutes.
This is useful for workshop planning, but it should not be treated as a universal timer for every countertop project. Actual working conditions, assembly size and the specific workflow need to be considered according to the current product instructions.
The practical lesson is simple: do not start mixing while the countertop assembly is still being prepared.
7. Applying PU Adhesive During Countertop Fabrication
Once the joint has been dry fitted and the surfaces are ready, adhesive application can begin.
- Confirm the components are in the correct orientation.
- Verify that the bonding surfaces are ready.
- Prepare the two adhesive components according to the specified ratio.
- Mix according to the product instructions.
- Apply the adhesive to the intended bonding interface.
- Bring the components together carefully.
- Check alignment immediately.
- Maintain the assembly in position according to the relevant instructions.
8. Countertop Alignment After Adhesive Application
Countertop assemblies often have visible finished surfaces, so positioning matters. Once the pieces are brought together, the fabricator should verify the alignment before allowing the assembly to progress through its bonding stage.
Check:
- Edge alignment.
- Component orientation.
- Joint position.
- Visible surface protection.
- Stability of the assembly.
9. Marble, Natural Stone and Compatible Secondary Materials
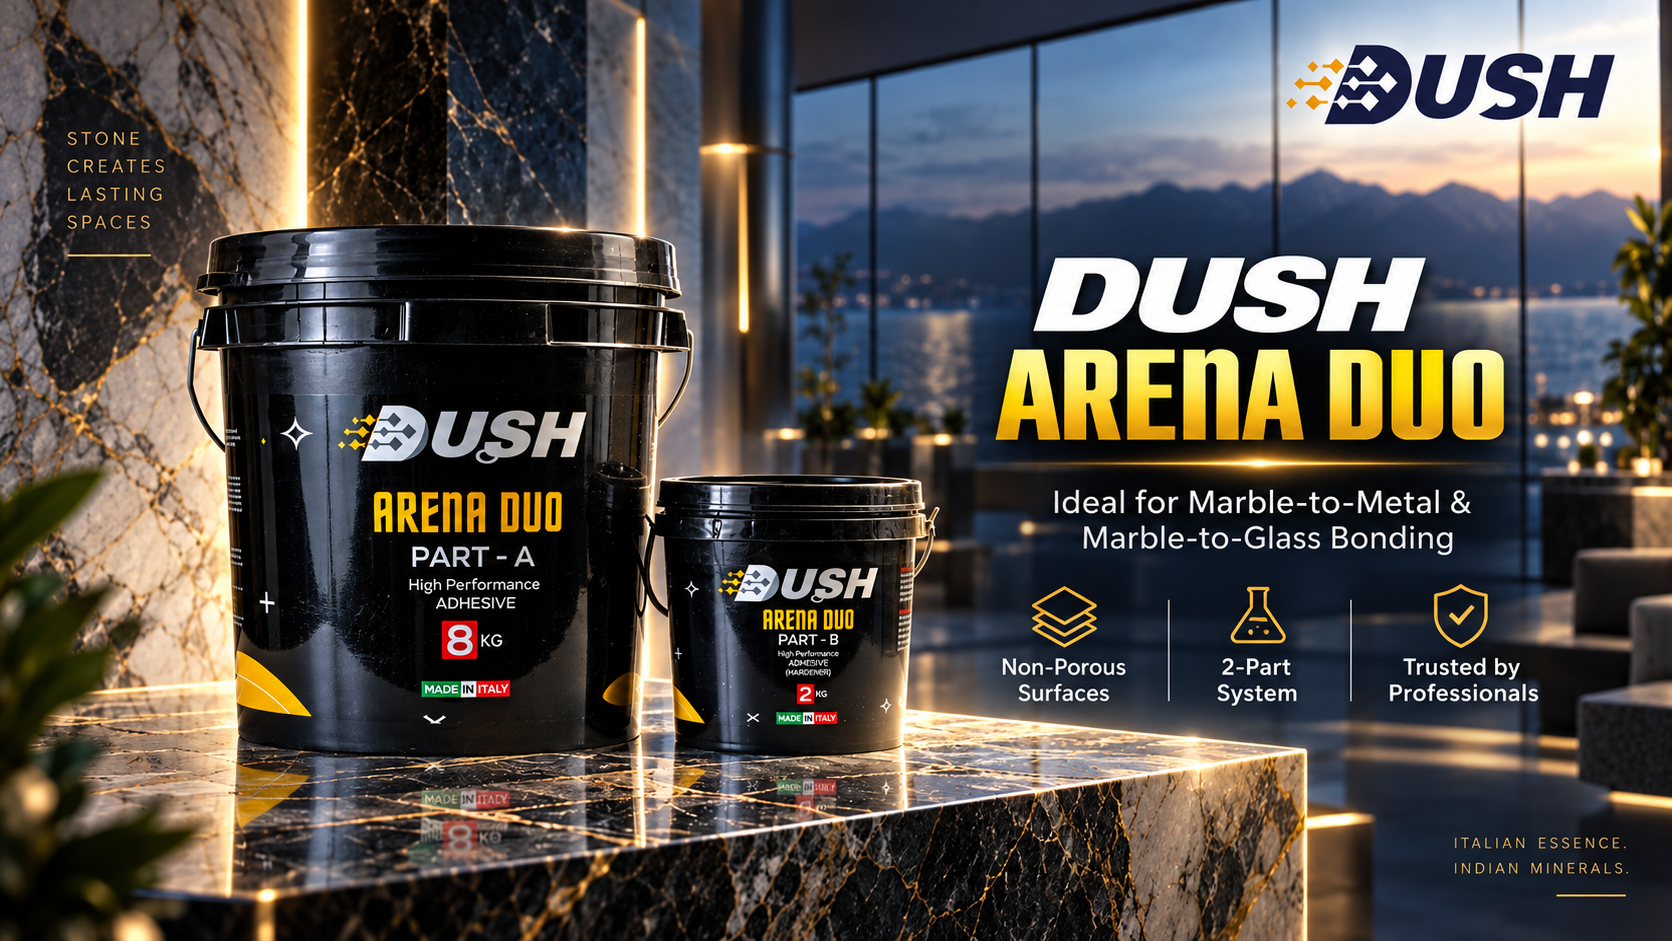
DUSH Arena Duo documentation discusses applications involving natural stone or marble with compatible glass, metal, aluminium and composite surfaces.
That does not mean every stone, coating, finish or composite should automatically be considered compatible. The actual materials and intended assembly should be checked against the current product documentation.
| Assembly | What to verify |
|---|---|
| Marble to marble | Stone condition, joint geometry, preparation and alignment. |
| Natural stone assembly | Actual stone type and documented adhesive suitability. |
| Stone to glass | Compatibility and preparation requirements for both interfaces. |
| Stone to metal/aluminium | Substrate compatibility and the correct preparation procedure. |
| Stone to composite | Exact composite material and documented application suitability. |
10. Common Countertop Bonding Mistakes
Mixing before the countertop is ready
If the parts are not dry fitted or the holding method has not been prepared, working time can be lost before the actual assembly begins.
Using adhesive to correct inaccurate fabrication
Adhesive is not a substitute for correct cutting, profiling or joint preparation.
Ignoring material compatibility
A general material category is not enough. The exact stone, finish and secondary substrate should be checked.
Moving the assembly unnecessarily
Once positioned, the components should remain controlled according to the product instructions and the needs of the assembly.
Using a generic surface-preparation method
Different substrates can require different preparation. Follow the product-specific instructions.
11. Marble Countertop Bonding Quality Checklist
| Checkpoint | Question |
|---|---|
| Material | Are the actual substrates identified? |
| Compatibility | Is the selected adhesive documented for the intended application? |
| Fabrication | Are the components accurately cut and prepared? |
| Dry fit | Have the parts been checked without adhesive? |
| Surface | Have the bonding interfaces been prepared correctly? |
| Mixing | Has the specified component ratio been followed? |
| Working time | Is the assembly ready for the applicable working period? |
| Alignment | Are the components held in the intended position? |
| Inspection | Has the finished assembly been checked before the next stage? |
12. DUSH Arena Duo for Marble and Natural-Stone Applications
DUSH Arena Duo
DUSH Arena Duo is a two-component PU adhesive documented for applications involving natural stone and marble, with compatible glass, metal, aluminium and composite surfaces.
| Product type | Two-component PU adhesive |
|---|---|
| Published mixing ratio | 2:1 |
| Published open time | Approximately 30–45 minutes |
| Documented materials | Natural stone / marble with compatible glass, metal, aluminium and composite surfaces |
13. DUSH Arena Duo Product Video
14. A Repeatable Countertop Bonding Process
For workshops handling multiple countertop projects, a consistent sequence can make the bonding stage easier to manage.
- Identify the actual materials.
- Complete countertop fabrication and edge preparation.
- Dry fit all components.
- Prepare the bonding interfaces.
- Set up tools and alignment supports.
- Prepare the adhesive using the specified ratio.
- Apply and assemble.
- Check alignment.
- Maintain the assembly according to the product instructions.
- Inspect before finishing or installation.
15. Final Takeaway
A marble countertop bonding job is most controlled when adhesive selection and application are treated as part of the fabrication workflow. Accurate components, a planned joint, proper preparation, dry fitting and controlled alignment all come before the adhesive itself.
For compatible applications, DUSH Arena Duo is a two-component PU adhesive with a published 2:1 mixing ratio and approximately 30–45 minutes of published open time. Its documented applications include natural stone or marble with compatible glass, metal, aluminium and composite surfaces.
Always confirm the current product documentation and compatibility of the actual materials before production use.
Looking for a PU Adhesive for Marble Countertops?
Explore DUSH Arena Duo and review the documented application information for your intended stone-bonding assembly.
Explore Arena Duo Visit DUSH ProductsFrequently Asked Questions
Can PU adhesive be used for marble countertop fabrication?
A compatible PU adhesive can be used for documented marble and natural-stone bonding applications. The exact countertop assembly, materials and joint should be checked against the adhesive manufacturer's current documentation.
Why should a marble countertop be dry fitted before adhesive is applied?
Dry fitting lets the fabricator check dimensions, joint position, alignment and the holding method before adhesive is mixed and applied.
What is the mixing ratio of DUSH Arena Duo?
The published mixing ratio of DUSH Arena Duo is 2:1.
What is the published open time of DUSH Arena Duo?
The published open time of DUSH Arena Duo is approximately 30–45 minutes.
Can DUSH Arena Duo be used with materials other than marble?
DUSH Arena Duo documentation discusses applications involving natural stone or marble with compatible glass, metal, aluminium and composite surfaces. Exact compatibility should be checked for the intended assembly.
Product note: Specifications and application guidance can change. Always refer to the latest DUSH product documentation and follow the applicable instructions for the specific project.