Large-Format Marble Guide · India 2026
Large Marble Slabs Are Hollow After Installation: Why It Happens & How to Prevent It
A hollow sound under large marble usually means the slab is not fully supported by the adhesive bed. The root cause is often insufficient contact coverage, an undersized trowel, uneven substrate, missing back-buttering, uncollapsed mortar ridges or adhesive that skinned before the slab was placed. For large-format marble and porcelain, DUSH ERA is the best-fit DUSH product because it is specifically engineered for oversized slabs and full-coverage bedding.
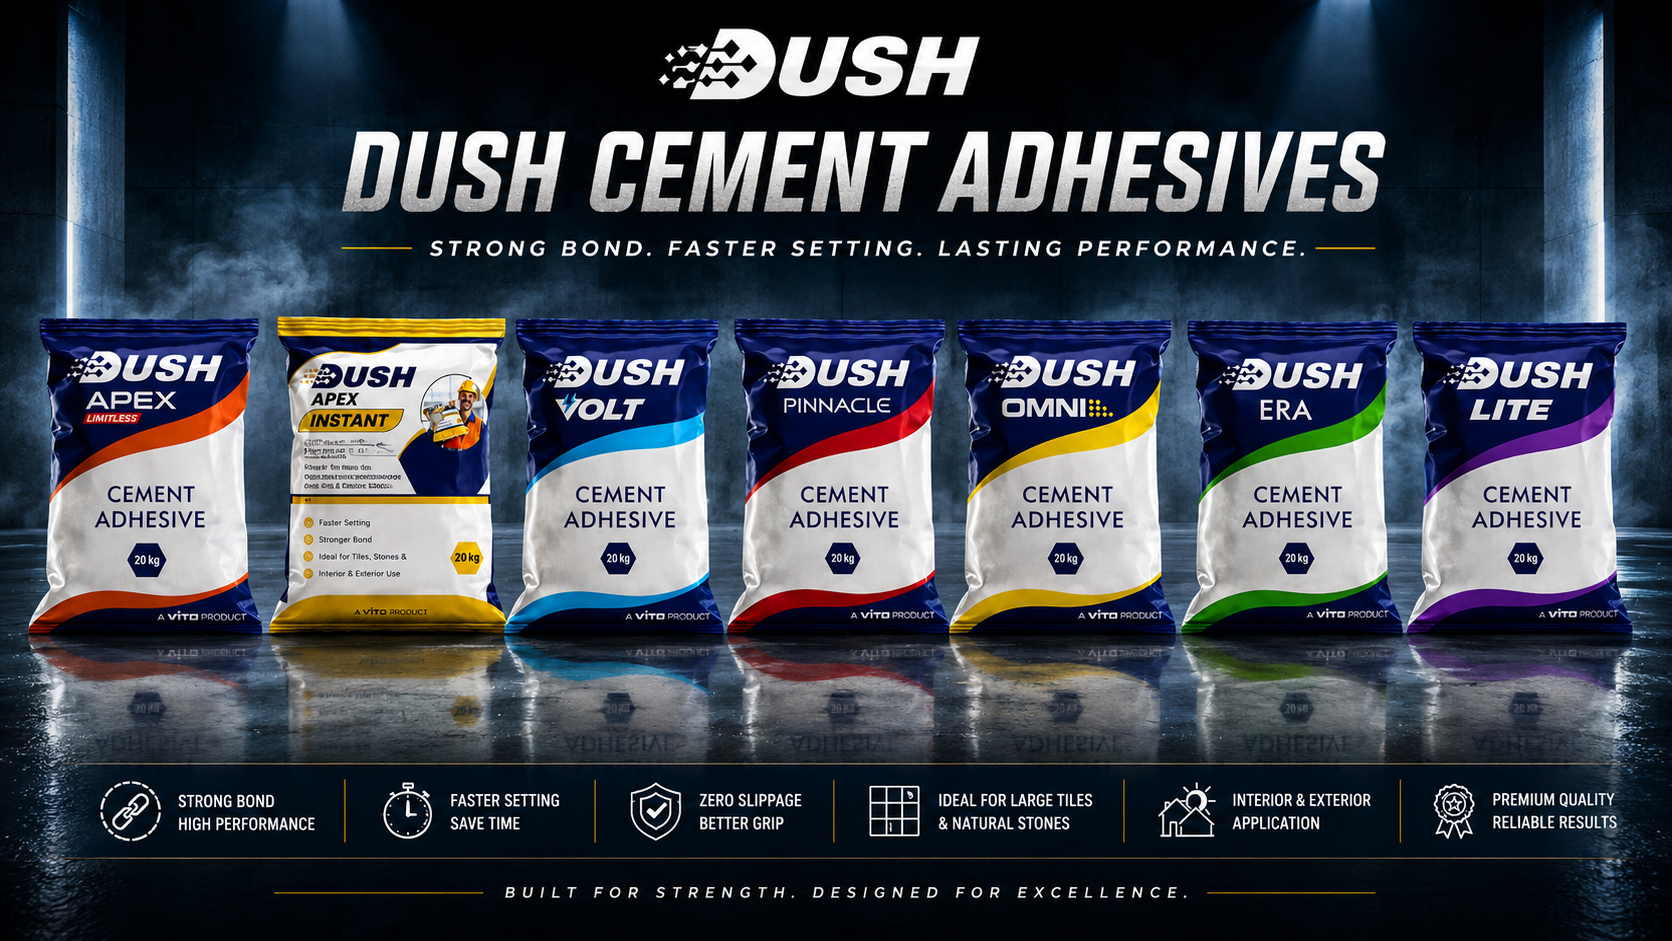
DUSH ERA
DUSH ERA is the best-fit DUSH product when large-format/heavy marble slabs are the main installation requirement. Its current page says it is engineered specifically for large-format marble and porcelain and instructs installers to use a large-notch trowel and back-butter slabs for maximum contact. [1]
Why Hollow Spots Happen
What Causes a Large Marble Slab to Sound Hollow?
| Cause | What Happens Under the Slab | Prevention |
|---|---|---|
| Uneven floor | Slab bridges over low areas and contacts only the high points | Check and correct flatness before installation |
| Trowel notch too small | Not enough adhesive volume to achieve continuous support | Use the notch size required for the slab |
| No back-buttering | Mortar transfer to the slab back is incomplete | Key a contact coat onto the slab back |
| Random/swirl troweling | Air channels are harder to collapse | Comb parallel ridges |
| No side-to-side movement | Ridges remain standing instead of collapsing | Press and move slab across the ridge direction |
| Adhesive skinned over | Stone contacts a dry surface film instead of fresh mortar | Work within open time |
| Wrong adhesive | Mortar may settle, shrink or fail to support heavy slab | Use large-format mortar such as DUSH ERA |
| Excessive bed correction | Installer tries to level a bad floor using normal adhesive | Level substrate separately or use an approved high-build system |
1. Substrate Flatness
Why Is Floor Flatness So Important With Large Marble?
Large slabs magnify small substrate irregularities. A short tile can follow a minor floor variation; a long slab bridges it. If one corner sits on a high point while the middle spans a low area, the adhesive has to fill that entire variation or a void remains.
DUSH ERA's current best-practice guidance tells installers to check substrate flatness with a straightedge before starting. [1] LATICRETE technical guidance likewise says to make sure the substrate is flat before installing large-format tile or stone and to adjust the installation method as needed to achieve maximum coverage. [3]
2. Correct Trowel Size
Can a Small Notched Trowel Cause Hollow Marble?
Yes. A smaller notch creates a thinner adhesive volume and may not provide enough mortar to compensate for slab and substrate variation. DUSH ERA specifically warns installers not to use a trowel notch that is too small for the tile size. [1]
LATICRETE coverage examples show how changing from a 6×6 mm notch to a larger 6×9 mm notch, together with back-buttering, can substantially increase contact coverage. [3]
Contractor rule
- Choose notch size by slab dimensions and substrate flatness.
- Do not reuse the same trowel for every tile size.
- Inspect transfer rather than assuming the trowel is large enough.
3. Back-Buttering
Why Should Large Marble Slabs Be Back-Buttered?
Back-buttering means using the flat side of the trowel to key a thin contact coat of adhesive onto the back of the marble before lowering it into the combed mortar bed. This helps fill small irregularities on the slab back and improves mortar transfer.
DUSH ERA explicitly instructs installers to back-butter large slabs for full contact coverage. [1] LATICRETE's technical guidance also recommends back-buttering large-format tile/stone and checking coverage during installation. [3]
Back-Butter + Correct Notch + Ridge Collapse
Back-buttering alone does not guarantee full coverage. It works together with the correct trowel size, a flat substrate and proper movement of the slab to collapse the ridges.
4. Directional Troweling
Why Should Adhesive Ridges Be Combed in One Direction?
Parallel ridges create predictable channels that can collapse when the slab is moved across them. Random circles, swirls and multidirectional ridges trap air more easily and make the coverage pattern difficult to control.
MAPEI's double-buttering guidance emphasises correct adhesive distribution and full support for large-format and exterior installations. [5]
Preferred sequence
- Key adhesive into the substrate.
- Comb parallel ridges with the correct notch.
- Back-butter the slab.
- Lower the slab into place.
- Move it perpendicular to the ridges.
- Tap/press evenly.
- Lift a sample slab and inspect the back.
5. Ridge Collapse
What Does Proper Mortar Transfer Look Like?
When a slab is removed immediately after placement, the back should show continuous mortar transfer rather than isolated stripes with open channels between them. The goal is broad, even support across the slab footprint.
LATICRETE's TDS 196 illustrates coverage patterns and notes that simply contacting both the substrate and tile is not enough; installers should key mortar into the substrate, back-butter the tile/stone and use an appropriate notch to maximise support. [3]
Its large-format installation guidance also warns that incomplete mortar coverage can lead to cracked tile/grout and loss of bond. [4]
6. Open Time
Can Adhesive Skinning Create Hollow Areas?
Yes. Once the surface of the adhesive dries enough to form a skin, the slab may touch the mortar without actually transferring into it. This can leave broad sections poorly bonded even if the installer used enough adhesive.
DUSH ERA's current best-practice guidance specifically tells installers not to set tiles into adhesive that has already begun to skin over and to work within the declared open time. [1]
Open-time problems increase when:
- The floor is hot.
- Wind moves across the work area.
- The substrate is very dry/absorbent.
- Too much area is spread before slabs are ready.
- The installation crew is too small for the slab size.
7. Slab Weight
Why Can Heavy Slabs Sink or Settle?
Large marble can compress ordinary mortar unevenly. One edge may settle more than another, creating lippage and reducing control over the final bed thickness. DUSH ERA's current product page specifically positions its controlled consistency to minimise lippage and support heavy slabs. [1]
Large-and-heavy-tile mortars from other manufacturers are also formulated specifically to support large/heavy units without excessive shrinkage or settlement, confirming why this is a specialised mortar category. [2]
Is Hollow Sound Always Failure?
Does Every Hollow-Sounding Marble Slab Need to Be Removed?
Not automatically. A hollow sound indicates a difference in support or resonance under the slab, but the actual risk depends on the size and location of the void, bond condition, slab thickness, expected traffic and whether cracking or movement is already present.
A small isolated acoustic difference is not the same as a slab that moves, cracks or has extensive unbonded zones. For a finished project, investigation should be proportionate:
- Map the hollow area.
- Check for slab movement.
- Inspect grout and perimeter cracking.
- Compare with adjacent slabs.
- Review installation records.
- Consider controlled removal only where necessary.
Repair Decision
What Should You Do If the Slab Is Already Hollow?
| Condition | Likely Action |
|---|---|
| Small acoustic difference, no movement/cracks | Document and monitor; technical review before invasive repair |
| Large hollow zone, no movement yet | Assess bond/coverage and risk before deciding on removal |
| Slab moves under load | Remove and re-install after diagnosing substrate/coverage problem |
| Cracked slab over hollow area | Remove, inspect substrate and re-install with corrected system |
| Multiple slabs hollow in the same pattern | Investigate method: trowel, back-buttering, open time, substrate flatness |
If a slab must be removed, inspect both the floor and the back of the marble. The failure pattern can reveal whether mortar remained on the floor, whether transfer was poor, whether ridges were never collapsed, or whether the substrate itself failed.
Complete DUSH Range
Which DUSH Product Fits Each Large-Marble Condition?
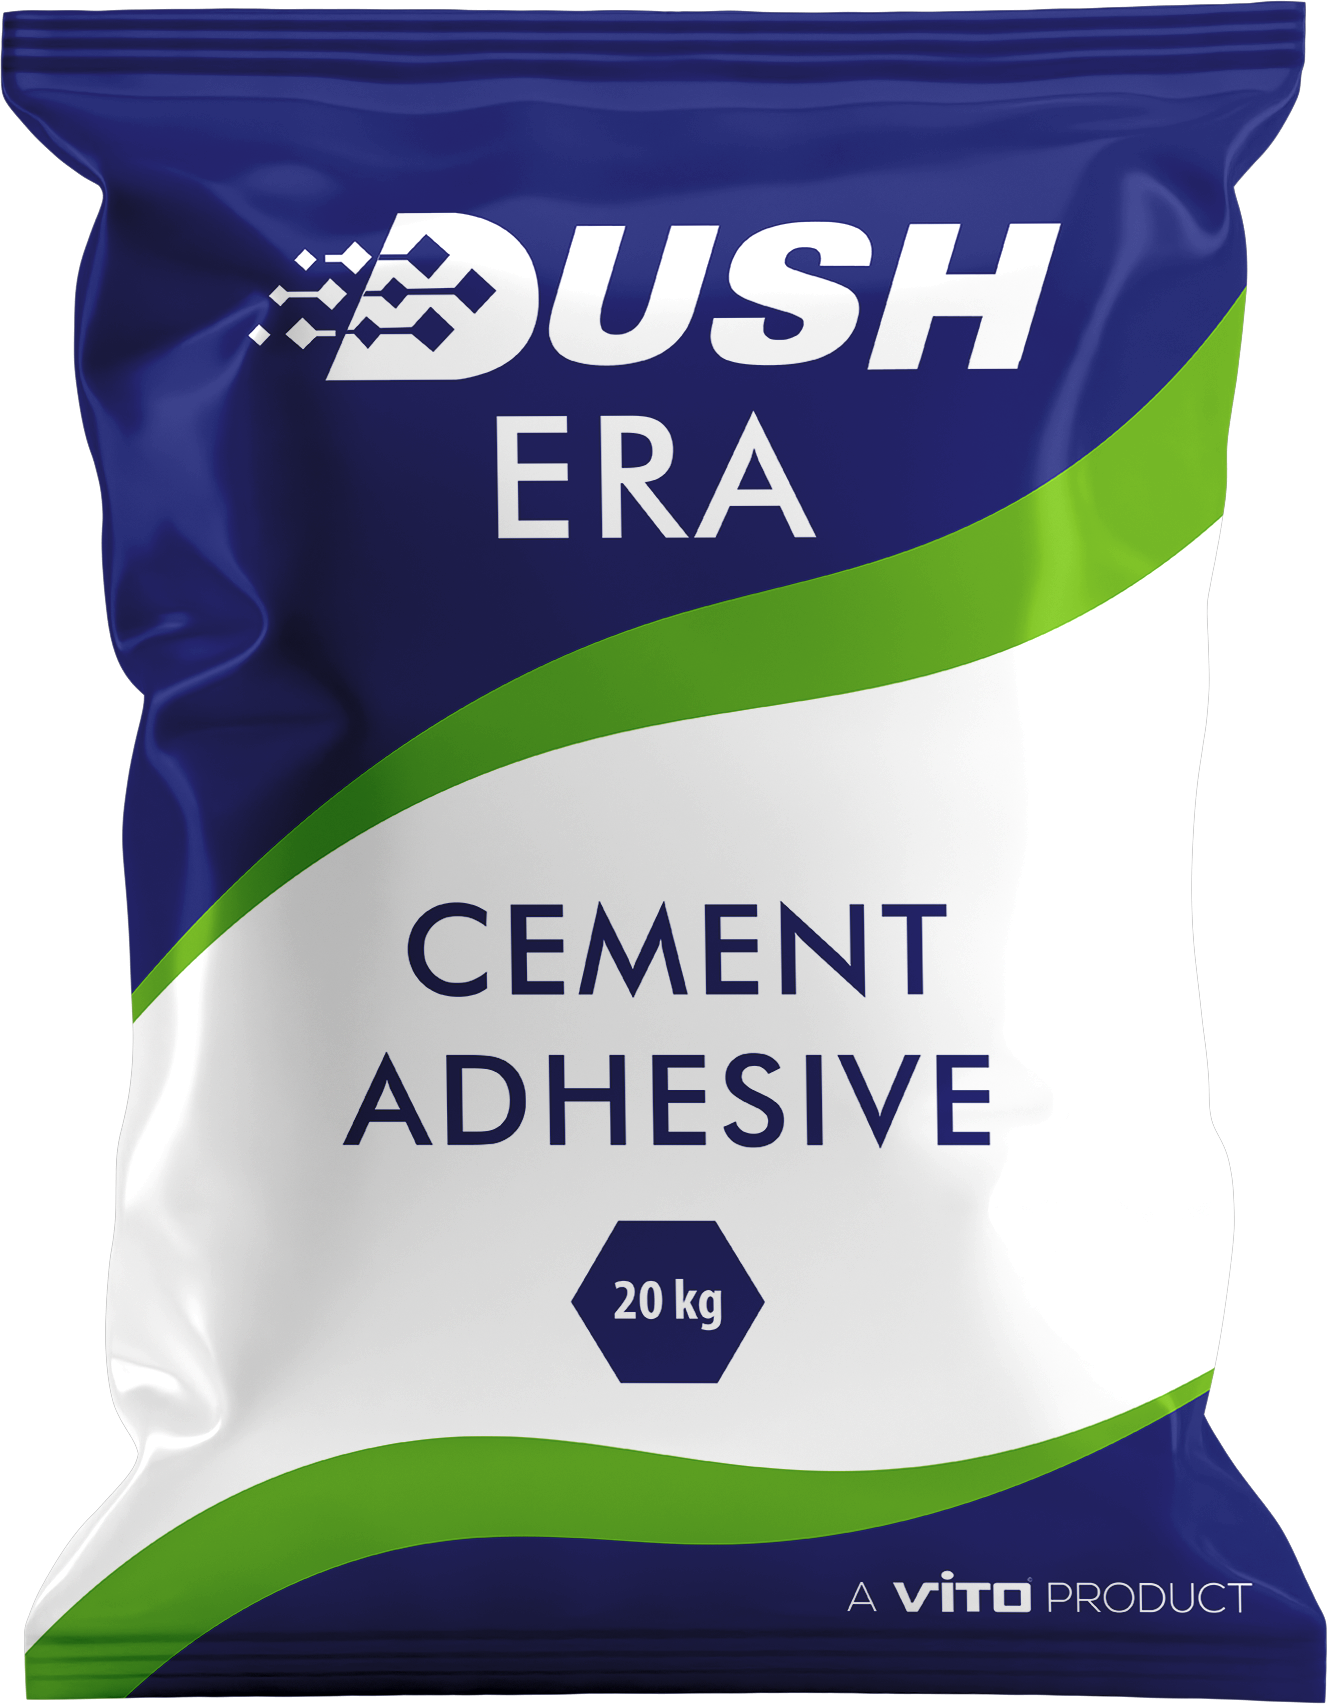
Best DUSH Choice — Large Format
DUSH ERA
Best-fit DUSH product for large-format/heavy marble and porcelain. Current page specifically targets hollow spots, lippage, heavy-slab support and full coverage. [1]
View DUSH ERA →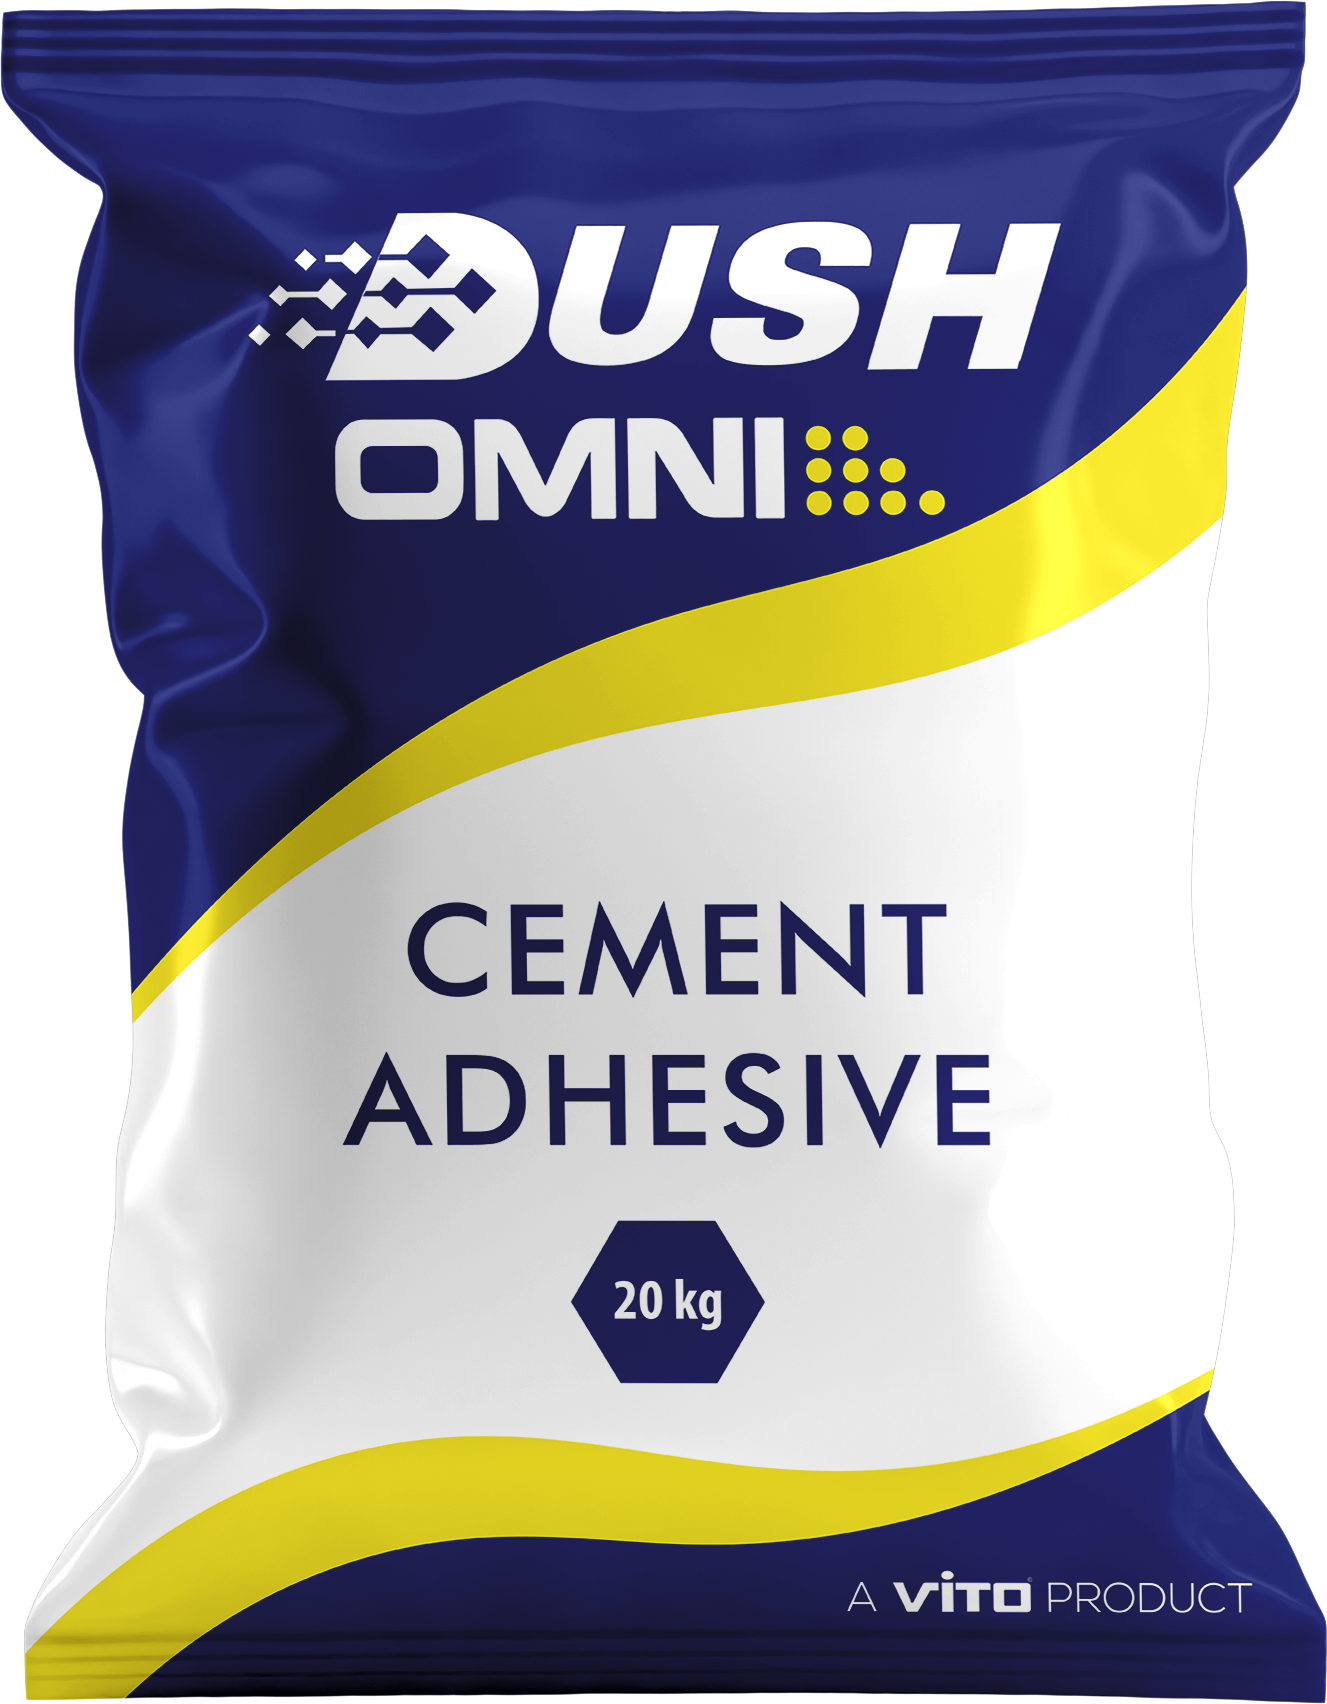
General Interior
DUSH OMNI
Best-fit DUSH starting point for suitable general interior standard/medium-format marble and tile. Move to ERA when slab size/weight becomes the dominant issue.
View DUSH OMNI →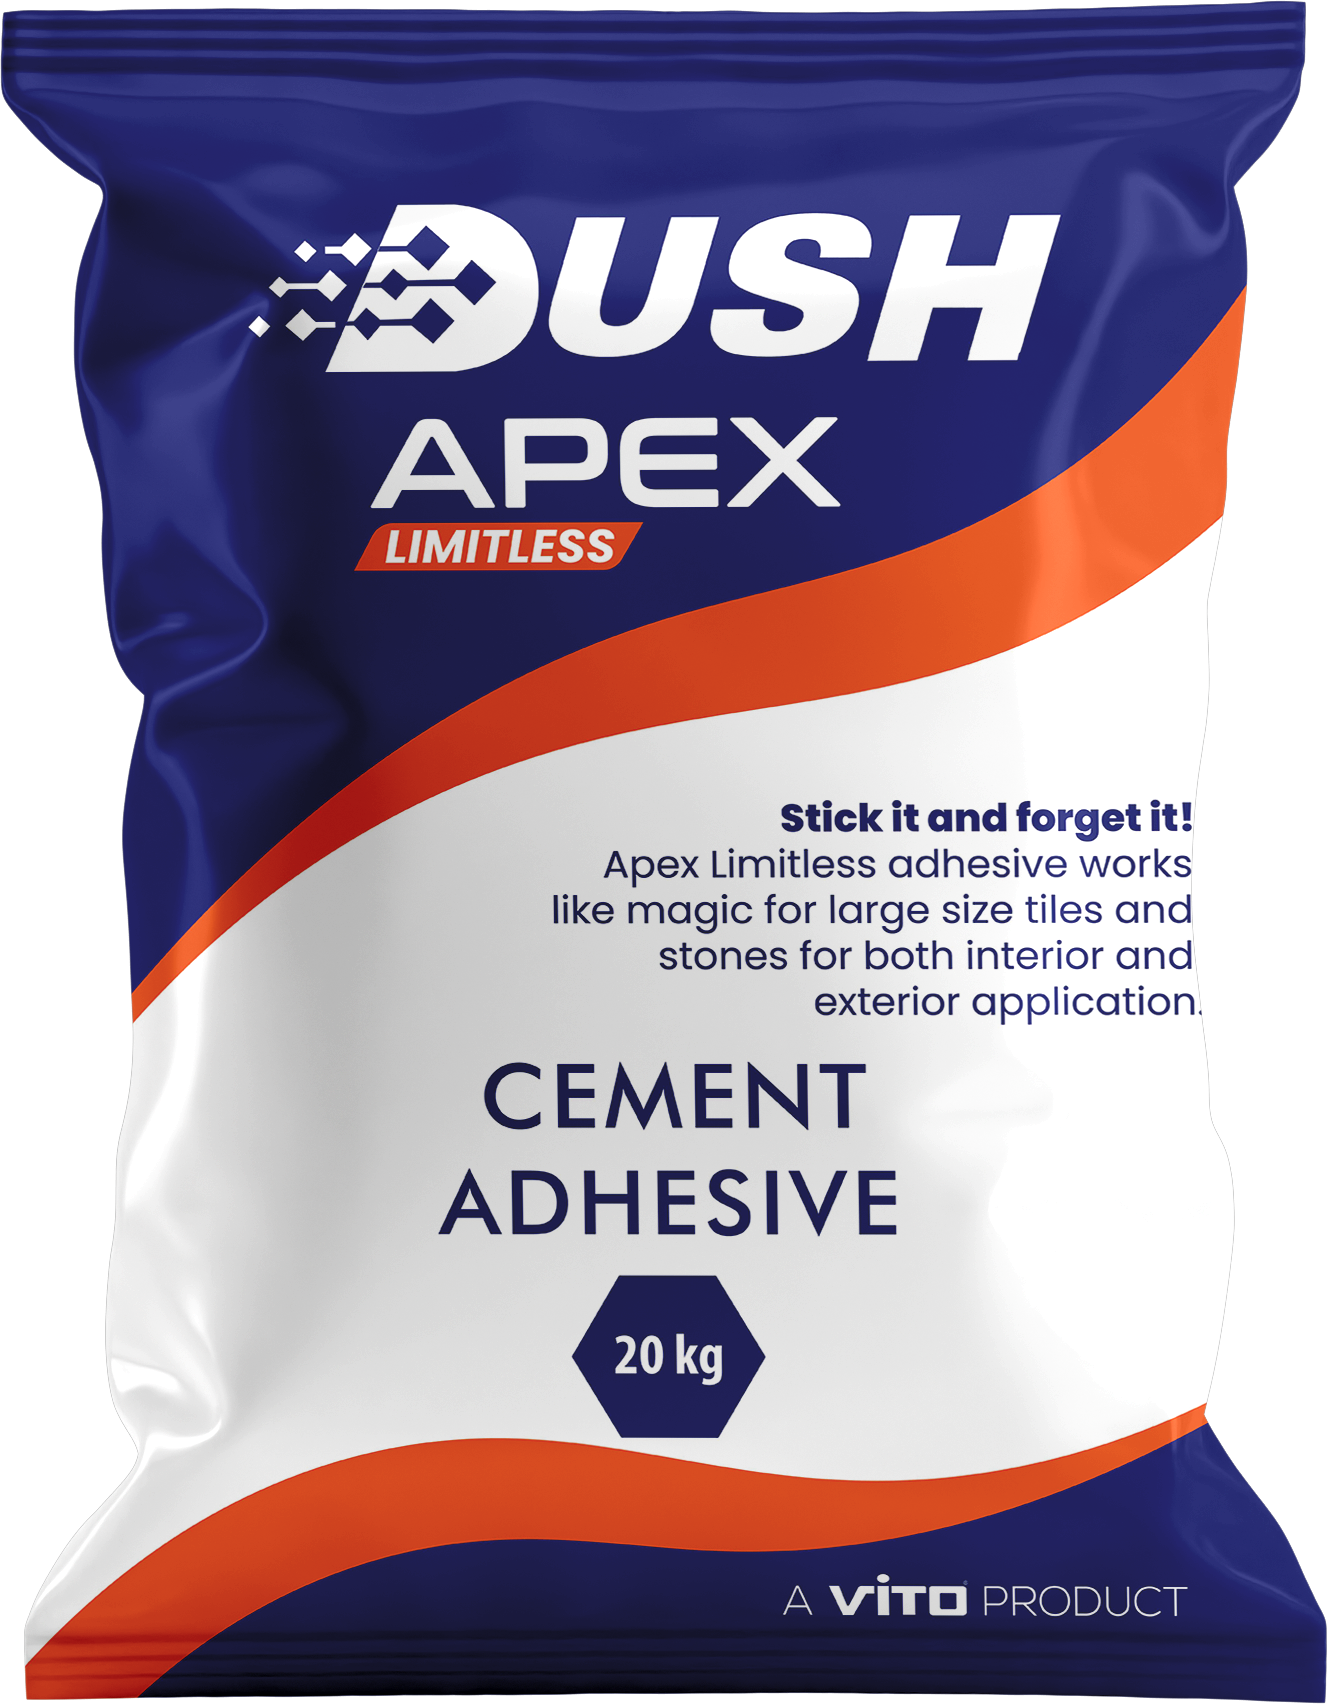
Exterior Large Marble
DUSH APEX
Best-fit DUSH general exterior marble/natural-stone option. For a slab that is both large-format and exterior, confirm the DUSH system that satisfies both requirements rather than selecting on size alone.
View DUSH APEX →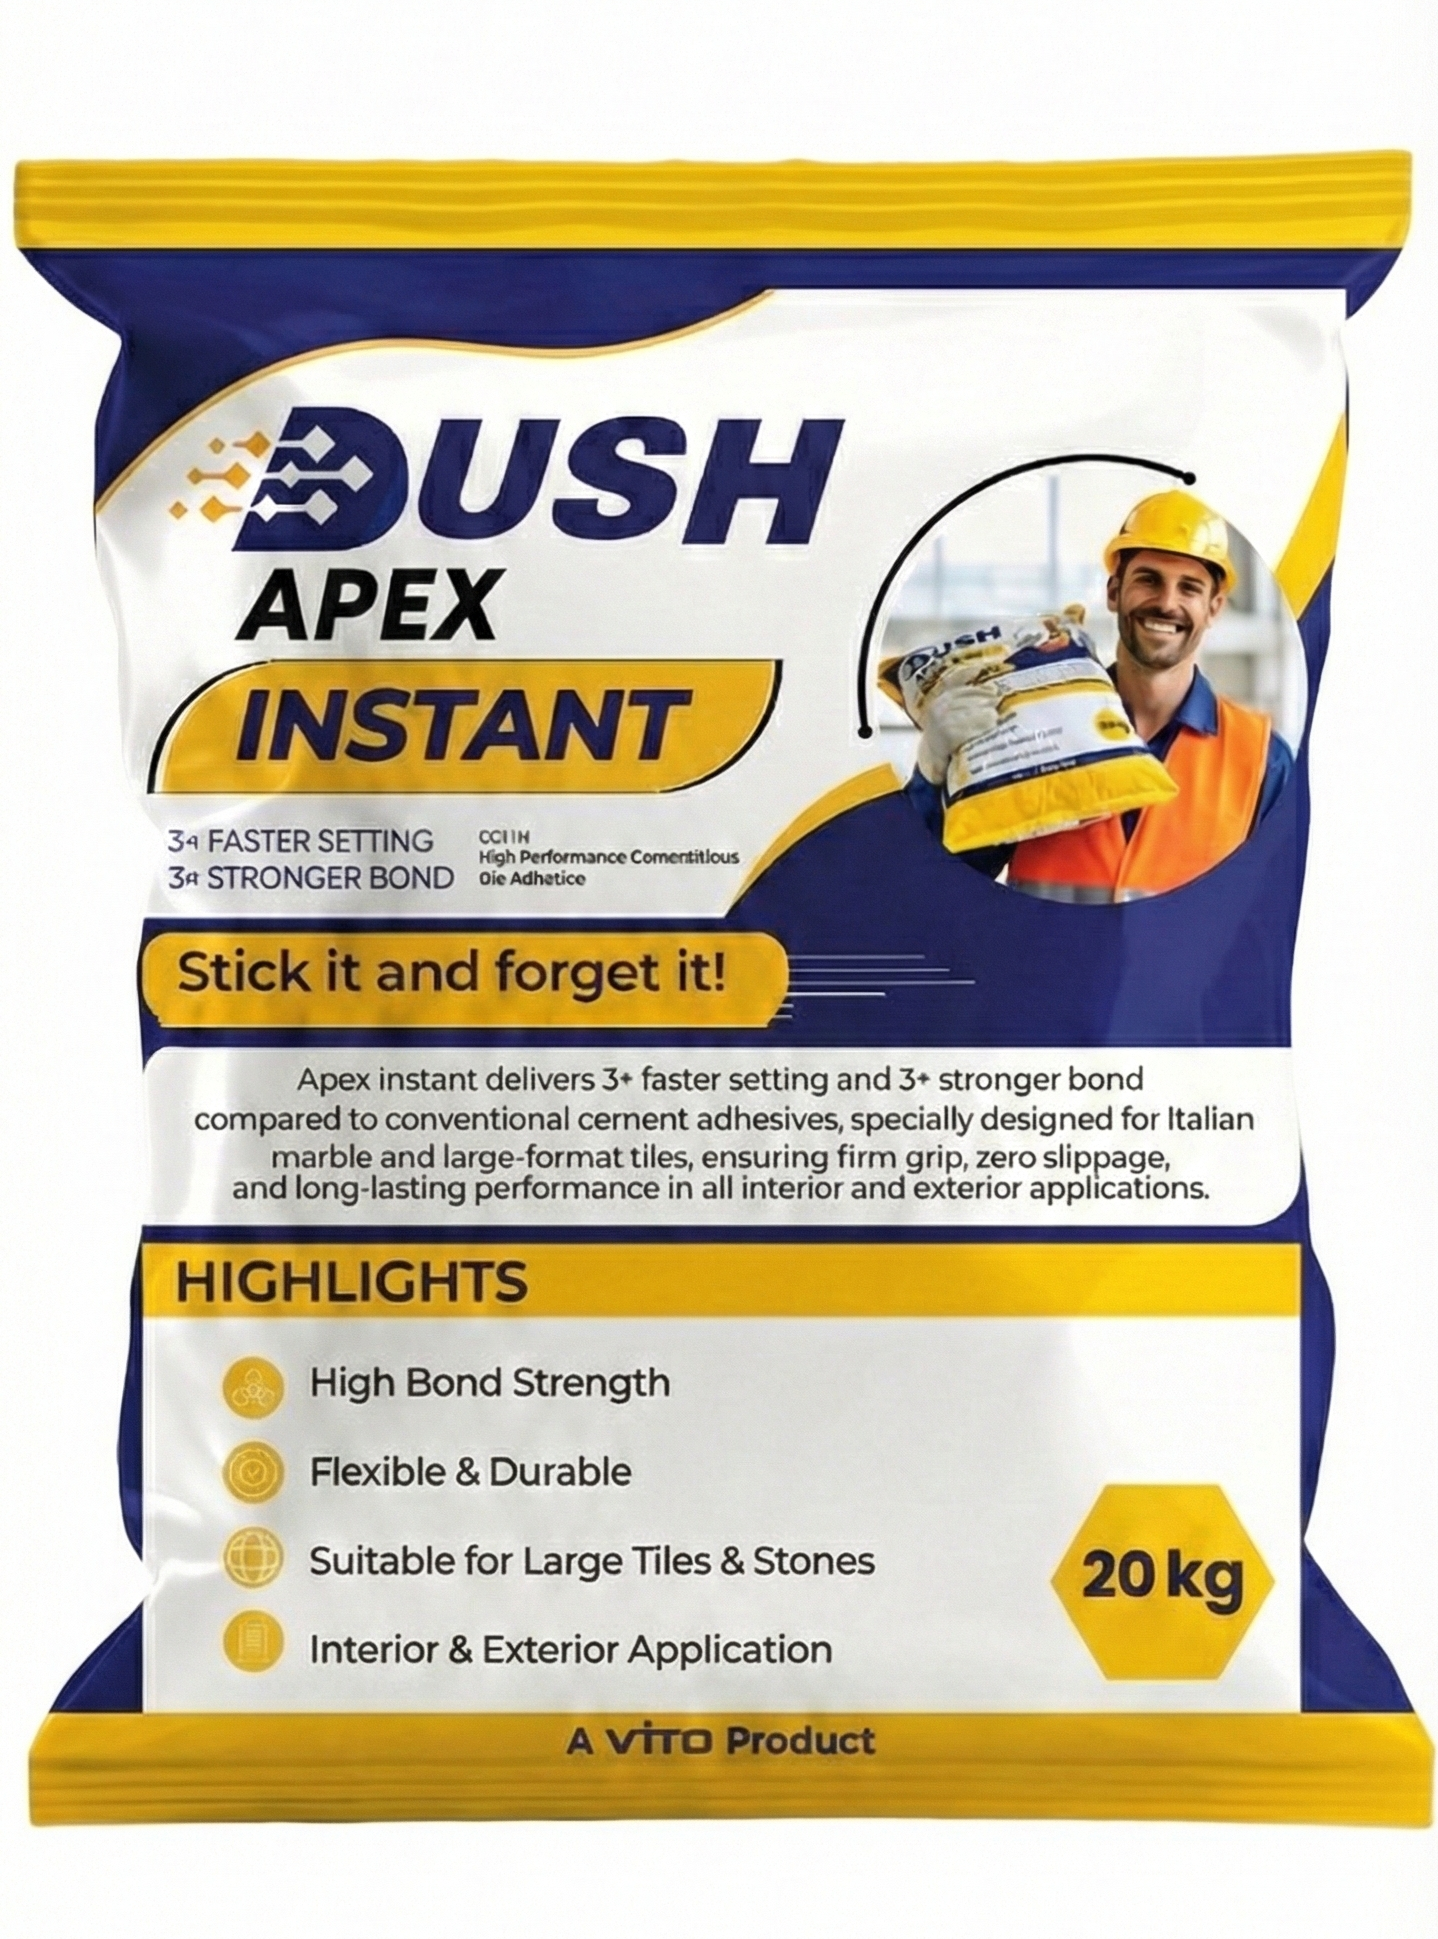
Rapid Exterior Vertical
DUSH APEX INSTANT
Best-fit DUSH option when rapid initial grip on exterior vertical cladding is the main requirement. Large slab size still needs separate review.
View APEX INSTANT →
High-Rise
DUSH VOLT
Best-fit DUSH product for high-rise stone/marble cladding within the complete engineer-approved façade system.
View DUSH VOLT →
General Interior Alternative
DUSH LITE
Use only within its latest approved format and application range. Do not use it as a substitute for ERA solely to reduce bag cost.
View DUSH LITE →
Verify Current TDS
DUSH PINNACLE
Confirm current slab-size, wall/floor and interior/exterior limits before specification.
View DUSH PINNACLE →Contractor Installation Sequence
How to Prevent Hollow Large-Marble Slabs
- Check substrate flatness before mixing adhesive.
- Repair major low/high areas separately.
- Use DUSH ERA where large-format/heavy slab support is the main requirement.
- Use the correct large-notch trowel.
- Key adhesive into the substrate.
- Comb parallel ridges.
- Back-butter the entire slab back with a contact coat.
- Place slab within the adhesive open time.
- Move the slab across the ridges to collapse them.
- Tap/press evenly without creating isolated high points.
- Lift representative slabs to verify transfer.
- Maintain joints and perimeter movement gaps.
- Protect the floor until the adhesive cures.
DUSH Large-Format Support
Large Marble Sounding Hollow? Fix the Installation Method — Not Just the Sound.
Send DUSH the slab dimensions, thickness, substrate type, photos, interior/exterior location and current installation method. For large-format marble, start with DUSH ERA and confirm the complete system before installation.
AEO / People Also Ask
Large Marble Hollow Spots — FAQs
1. Why do large marble slabs sound hollow?
Usually because parts of the slab are not fully supported by adhesive. Common causes include an uneven substrate, too-small trowel notch, poor mortar transfer, missed back-buttering, uncollapsed ridges or skinned adhesive.
2. Which DUSH adhesive is best for large-format marble?
DUSH ERA is the best-fit DUSH product when large-format/heavy marble slabs are the main requirement.
3. Does every hollow slab need replacement?
No. Hollow sound alone does not prove imminent failure. The size of the hollow area, movement, cracking and bond condition should be assessed before removal.
4. Can a small trowel create hollow spots?
Yes. Too little mortar volume can leave unsupported areas under large slabs.
5. Should large marble be back-buttered?
Yes. DUSH ERA specifically recommends back-buttering large slabs to improve contact coverage.
6. Why should adhesive ridges be parallel?
Parallel ridges collapse more predictably when the slab is moved across them, helping air escape and improving coverage.
7. How do I know if coverage is adequate?
Lift representative slabs during installation and inspect the mortar transfer on the slab back rather than relying only on the trowel size.
8. Can DUSH OMNI be used for large slabs?
OMNI is a general interior product. When slab size/weight becomes the main issue, DUSH ERA is the better DUSH product to review.
9. Can adhesive fix a very uneven floor?
Normal thin-bed adhesive should not be used as a substitute for major floor levelling. Correct the substrate or use an approved high-build system.
10. What happens if adhesive skins over?
The slab can contact a dry film instead of fresh mortar, reducing transfer and creating poorly bonded areas.
11. Can hollow areas cause cracking?
Large unsupported zones can concentrate stress and increase the risk of cracking or movement, especially under point loads.
12. Is lippage related to the same installation problems?
Yes. Uneven substrate, slab weight and inconsistent bed thickness can contribute to both hollow spots and lippage.
13. Is DUSH ERA available in white?
The current DUSH ERA page lists the product in Grey/White.
14. Can DUSH ERA be used outside?
The current DUSH ERA page primarily positions it for large-format applications and directs exterior large-marble situations toward an exterior-approved DUSH specification. Confirm the latest TDS with DUSH.
15. What is the simplest way to prevent hollow large marble?
Start with a flat substrate, use the correct DUSH large-format adhesive, choose the correct notch, back-butter the slab, collapse directional ridges and verify coverage during installation.
Technical References
Sources & Technical References
- DUSH — DUSH ERA Large-Format Marble & Tile Adhesive.
- LATICRETE — LHT Plus large/heavy tile mortar.
- LATICRETE — TDS 196 mortar contact coverage guidance.
- LATICRETE — TDS 193 large-format tile and stone installation.
- MAPEI India — Correct adhesive distribution and double-buttering.
- DUSH — Large-format marble adhesive guide.
- DUSH — DUSH OMNI.
- DUSH — DUSH APEX.
- DUSH — DUSH APEX INSTANT.
- DUSH — DUSH VOLT.
- DUSH — DUSH LITE.
- DUSH — DUSH PINNACLE.
- MAPEI — Large & Heavy Tile Mortar Basics.
- MAPEI — Large Tile & Stone Mortar.
- Sika — Large/heavy tile mortar reference.
- Natural Stone Institute — Natural stone testing.