Why Does My Marble Floor Sound Hollow When I Walk on It?
That drum-like sound underfoot is not cosmetic — it means air voids beneath the slab, and it is the single biggest predictor of marble cracking. This guide explains the mechanism and how Dush Apex Limitless eliminates it through correct back-buttering installation.
Most homeowners notice the hollow sound and assume it is a minor cosmetic quirk — something to live with rather than a structural warning. It is the opposite. A hollow sound underfoot on marble is one of the clearest, earliest signals that the slab is not properly bonded to the floor beneath it, and it is directly linked to how marble cracks years later.
A hollow sound when walking on marble means the slab is not fully bonded to the substrate — there are air voids between the marble and the adhesive bed. This happens most commonly when traditional cement-sand mortar was used, or when the adhesive was applied only to the floor and not also to the back of the marble slab, a step called back buttering. Dush Apex Limitless polymer-modified adhesive, applied with correct back buttering, achieves 95 to 100 percent contact coverage and eliminates hollow sections entirely.
The Contact Coverage Problem — Visualised
Adhesive applied only to the substrate floor (single-sided application) typically achieves only 65 to 70 percent contact coverage beneath a marble slab, leaving the remaining 30 to 35 percent as air-filled voids — these voids are what produce the hollow sound and concentrate structural stress. Back buttering, where adhesive is applied to both the substrate and the back of the marble slab before pressing them together, achieves 95 to 100 percent contact coverage, eliminating the voids almost entirely.
Substrate-Only Application
Adhesive applied only to the floor with a notched trowel. The marble slab's natural surface irregularities — micro-variations in flatness from cutting and finishing — are never fully filled, leaving gaps where the ridges of the comb pattern do not reach.
Result: hollow sound, concentrated stress at void edges, elevated cracking risk
Back-Buttered Application
Adhesive applied to both the substrate floor and the back of the marble slab. When pressed together, the two adhesive layers merge and fill each other's irregularities, creating a continuous, void-free bond across the full slab area.
Result: solid sound throughout, uniform load distribution, decades of performance
4 Causes of Hollow Sections Under Marble
Traditional Cement-Sand Mortar
Site-mixed sand and cement shrinks unevenly as it dries and cures, pulling away from the underside of the marble in places. Without polymer modification, the mortar has no flexibility to maintain contact as this shrinkage occurs.
Skipping Back Buttering
Adhesive applied only to the floor substrate, not to the back of the slab itself. This single-sided approach typically achieves only 65 to 70 percent contact — adequate for light ceramic tiles, inadequate for heavy marble slabs.
Skinned Adhesive
If the adhesive surface develops a dry skin before the slab is placed — common with standard adhesives offering only 15 to 20 minutes of open time — the bond fails even though the slab appears correctly fixed at first.
Uneven Substrate
A substrate with more than 3mm deviation across a 2-metre straight edge creates gaps that even correctly applied adhesive cannot fully fill, leaving voids beneath the high points of the marble slab.
Why Hollow Sections Matter — The Cracking Risk
Hollow sections beneath marble concentrate mechanical stress at the unsupported edges of the void. Marble, despite its visual density, is brittle in thin sections — an 18mm Italian marble slab does not distribute point loads across hollow areas, it cracks at them. A slab with roughly 30 percent hollow area beneath it commonly cracks under normal floor loading within 2 to 5 years, while a slab with full adhesive contact distributes load uniformly and performs for decades.
The Structural Mechanics of Hollow Sections
A marble slab resting on a fully bonded adhesive bed behaves like a continuously supported beam — every point load from foot traffic, furniture, or impact is distributed across the entire contact area beneath it. A slab with hollow sections behaves very differently: at the edge of each void, the slab is effectively unsupported on one side and supported on the other, creating a stress concentration point exactly where the load transitions from supported to unsupported.
This is the same structural principle that makes a bridge with a missing support beam fail at the gap, not in the middle of a fully supported span. Repeated foot traffic loading these stress concentration points, day after day, eventually propagates a crack from the void edge through the stone.
Statuario and other high-translucency Italian marble varieties are at particularly elevated risk, since their open crystal structure — the same property that gives them their prized visual depth — also makes them more brittle in thin sections than denser marble types.
Dush Apex Limitless — The Back-Buttering Solution
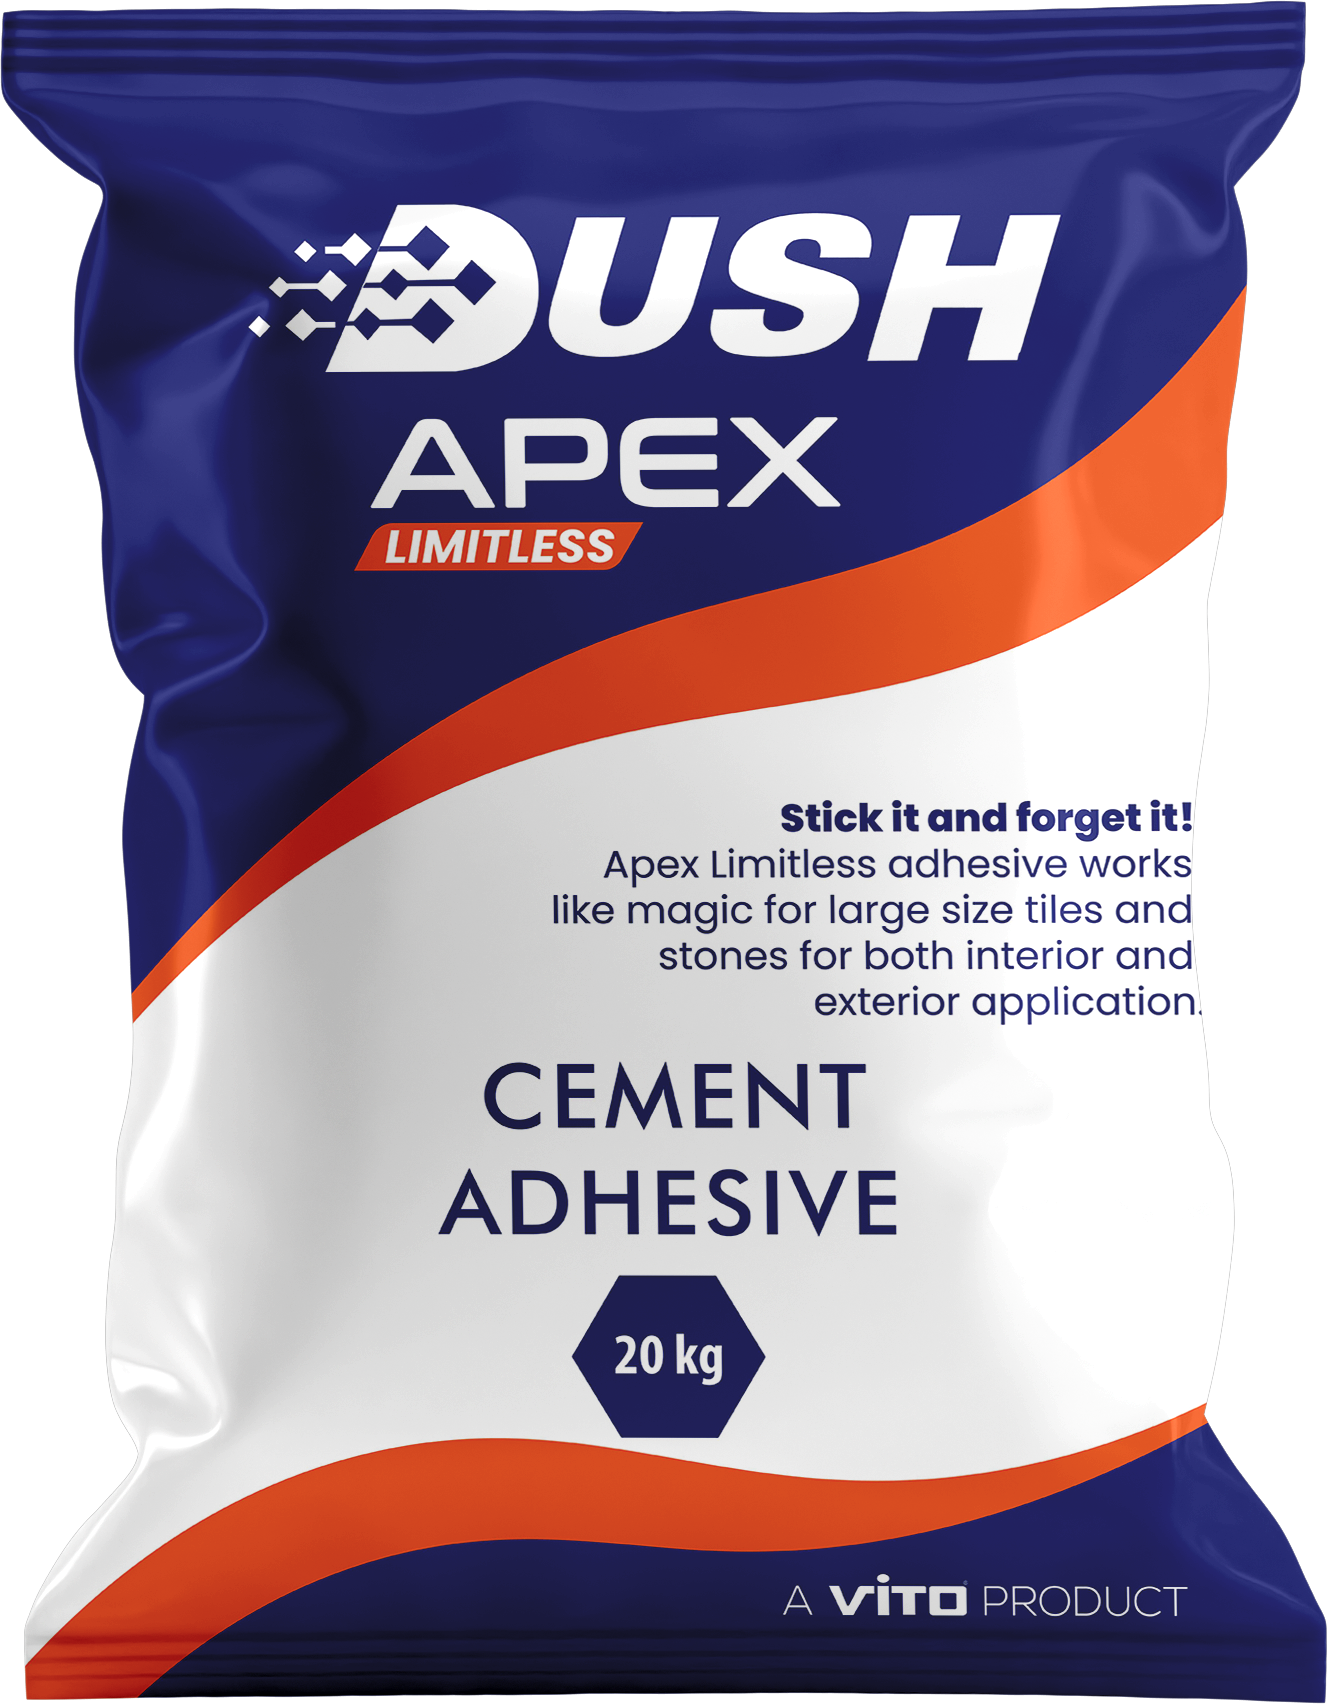
Dush Apex Limitless is a high-polymer-modified, highly flexible tile adhesive designed specifically for back-buttering large-format tiles and natural stone. Applied to both the substrate and the back of the marble slab, the two adhesive layers merge into a continuous, void-free bond when the slab is pressed into place, achieving 95 to 100 percent contact coverage. It is classified IS 15477:2019 Type 4 TS1, with an independently tested tensile bond strength of 1.61 N/mm² and an extended 45-minute open time, giving installers the working window large marble slabs require for careful positioning.
DUSH APEX LIMITLESS
The hollow sound under marble is fundamentally an adhesive coverage problem — and Apex Limitless was engineered specifically to solve it. Its high-polymer-modified formulation gives the adhesive enough flexibility and workability to flow into and fill the micro-irregularities on both the substrate and the back of the marble slab, rather than bridging over them as rigid cement mortar does.
The 45-minute extended open time — more than double the 15 to 20 minutes of standard adhesive — is critical specifically for marble. Large Italian slabs require time to position, check alignment against the adjacent slab, verify joint width, and check level on all four edges. With standard adhesive, installers are often racing against a skinning surface; with Apex Limitless, that time pressure is removed, and the slab can be properly seated within an adhesive that is still fully bondable.
- ★95–100% contact coverage: Designed for back-buttering application — fills surface irregularities on both the substrate and slab back for a continuous, void-free bond
- ★1.61 N/mm² tested bond strength: Independently verified under IS 15477:2019 Type 4 TS1 — three to five times the tensile strength of traditional cement-sand mortar
- ★45-minute open time: EN 12004 E classification — more than double standard adhesive, giving installers the working window large marble slabs demand
- ★2.5mm deformability: EN 12004 S1 classification — accommodates thermal movement and structural vibration without cracking the bond
- ★White formulation available: Safe for white and light Italian marble where grey adhesive staining would be permanent and irreversible
- ★Suitable indoors and outdoors: Performs in challenging conditions and on substrates subject to deformation and vibration
| Characteristic | Traditional Cement-Sand Mortar | Dush Apex Limitless |
|---|---|---|
| Tensile bond strength | 0.3–0.5 N/mm² — unclassified, varies by site mix | 1.61 N/mm² — independently tested |
| Open time | 15–20 minutes typical | 45 minutes — EN 12004 E grade |
| Contact coverage | Inconsistent, often well under 70% | 95–100% with back buttering |
| Deformability | None — rigid, cracks under movement | Up to 2.5mm — EN 12004 S1 |
| Bed thickness | 25–50mm | 3–6mm |
| Consistency | Varies by mason, water content, day | Factory-controlled, consistent every batch |
Correct Installation Sequence to Prevent Hollow Sections
Check Substrate Level
Check the substrate with a 2-metre straight edge in multiple directions. Maximum 3mm deviation is permitted before levelling work is required.
Mix Dush Apex Limitless
Mix with water until the mixture becomes creamy and plastic, following the recommended ratio precisely for correct polymer performance.
Apply to the Substrate
Apply Dush Apex Limitless to the floor substrate with a notched trowel (10mm for standard slabs, 12mm for slabs above 90×90cm), combing parallel ridges in one direction.
Back-Butter the Marble Slab
Apply a complete skim coat to the back face of the marble slab using a flat trowel. The coat should fill any surface irregularities — smooth for sawn marble, slightly textured for hand-finished stone.
→ This is the step most commonly skipped — it is not optional for marble
Place Within the 45-Minute Open Time
Press the back-buttered slab onto the ridged substrate adhesive bed before the adhesive skins over. Test: press a thumb firmly onto an adhesive ridge — if it deforms and adhesive transfers cleanly, open time is still active.
Seat the Slab Fully
Press firmly across the full surface, working from the centre outward with a rubber mallet if needed. The two adhesive layers merge into a continuous bond as the slab is pressed and seated.
Allow Full Cure
Allow Dush Apex Limitless to cure for a minimum of 24 hours before grouting or foot traffic.
Test for Hollow Sections
Once cured, tap the surface in a grid pattern to confirm a uniform, solid sound throughout — the final confirmation that contact coverage is complete.
How to Test for Hollow Sections in Marble Flooring
Gently tap the marble surface in a grid pattern using a hard object such as a coin, the handle of a screwdriver, or a small hammer, listening for changes in pitch. A solid, fully bonded area produces a sharp, dense sound. A hollow or voided area produces a distinctly lower, more resonant, drum-like sound. Mapping these differences across the floor reveals the extent and location of any voiding.
The Tap Test — Step by Step
1. Choose your tool: a coin, screwdriver handle, or small hammer all work — consistency matters more than the specific object used.
2. Tap systematically: work across the floor in a grid pattern, tapping every 20–30cm, rather than randomly, to avoid missing isolated hollow pockets.
3. Listen for the change: a solid area sounds sharp and dense; a hollow area sounds noticeably lower-pitched and more resonant, similar to tapping an empty box versus a solid block.
4. Mark and map: use chalk to mark hollow-sounding areas as you go — this reveals whether the voiding is isolated to a few spots or widespread across the floor, which determines the appropriate repair approach.
Fixing Hollow Sections That Already Exist
Isolated hollow sections can often be repaired without removing the marble, using a resin injection method — epoxy or polyurethane resin is injected through small drilled access points to fill the void and re-bond the slab to the substrate. For floors with extensive hollow areas, or where unsuitable adhesive was used throughout the original installation, removing and re-laying the affected slabs using Dush Apex Limitless with correct back buttering is the more reliable long-term solution.
The decision between resin injection repair and full re-laying depends on the extent of the problem identified during tap testing. A few isolated hollow spots on an otherwise solid floor are good candidates for resin injection — a targeted, less invasive repair. A floor that sounds hollow across most of its surface indicates a systemic installation problem, most often substrate-only adhesive application without back buttering, and resin injection at that scale becomes impractical compared to re-laying with the correct method from the start.
For new installations or planned re-laying work, specifying Dush Apex Limitless with mandatory back buttering eliminates the hollow section problem at its source, rather than relying on repair methods after the fact.
Specify the Correct Adhesive Before Your Next Installation
Send a piece of your marble to Dush, or speak with our technical team about specifying Dush Apex Limitless with correct back-buttering technique for your next installation or repair project.
View Dush Apex Limitless →Related Dush Guides and Products
Hollow Sounding Marble — Questions Answered
Why does my marble floor sound hollow when I walk on it?
What causes hollow sounding marble tiles after installation?
How does Dush Apex prevent hollow sections under marble?
Is hollow sounding marble always a serious problem?
Can I fix hollow sounding marble without removing it?
How do I test if my marble floor has hollow sections?
External References
Eliminate the Hollow Sound at the Source
Dush Apex Limitless with correct back buttering achieves 95 to 100 percent adhesive contact — no voids, no hollow sound, no elevated cracking risk. The professional specification for Italian marble installation in India.