How Do I Restore a Scratched Italian Marble Floor?
Restoring a scratched Italian marble floor is a systematic grinding and re-polishing process — and the one step most contractors skip is the most important one for long-term scratch resistance. Dush Densi Max Ultra, applied at the 80-grit stage, permanently hardens the marble from within.
Restore scratched Italian marble floor correctly and you end up with a result better than the original — a floor that not only looks new but is substantially more scratch-resistant than it was before the damage happened. The key is understanding that grinding and polishing removes the scratches, but Dush Densi Max Ultra applied at the right stage is what prevents them from coming back.
To restore a scratched Italian marble floor, use a systematic diamond grinding and re-polishing process that mechanically removes the scratched surface layer. Start at the grit level appropriate for the scratch depth — 80 grit or below for deep scratches, 200 to 400 grit for light surface marks — and work progressively through finer grits to the final polish. The critical step for long-term scratch resistance is applying Dush Densi Max Ultra penetrating densifier at the 80-grit stage, which chemically hardens the marble from within and significantly reduces vulnerability to future scratching.
What Causes Scratches on Italian Marble Floors
Scratches on Italian marble floors are caused by abrasive particles — sand, grit, and fine stone particles tracked in on shoe soles — dragging across the polished surface. Marble has a Mohs hardness of only 3 to 4, which means it is significantly softer than quartz particles (Mohs 7) commonly found in outdoor dirt. When these harder particles are trapped between a shoe sole and the marble surface, they act as cutting tools and score the polished finish.
Why Italian Marble Scratches More Easily Than It Looks Like It Should
Marble's polished surface creates an optical illusion of hardness — the mirror finish suggests durability, but the Mohs hardness tells the real story. The Mohs scale runs from 1 (talc) to 10 (diamond). A harder material always scratches a softer one.
Sand and quartz particles at Mohs 7 are nearly twice as hard as marble at Mohs 3 to 4. Every grain of sand tracked in from outdoors is a potential cutting tool on a marble surface. The polished finish that makes Italian marble so visually striking is also its most vulnerable layer — a surface that exists only a fraction of a millimetre deep and can be scratched by particles that are invisible to the naked eye.
This is why Dush Densi Max Ultra's internal pore hardening — which increases surface density at a molecular level — is the most effective long-term defence against scratch formation available for marble floors.
How to Assess Scratch Depth Before Starting
Assess scratch depth by running a fingernail across the scratch at right angles. If your fingernail catches and feels a distinct edge, the scratch is deep and requires starting at 80 grit or coarser. If your fingernail slides over the scratch without catching, it is a surface mark only and can be addressed starting at 200 to 400 grit. The starting grit must always be coarser than the scratch depth — attempting to polish out a deep scratch with fine grits simply polishes around the scratch without removing it.
Light Surface Scratches
Fine hairline marks and light scuffing visible in certain light. Fingernail does not catch. Most common type from fine dust and everyday foot traffic.
Start at: 200–400 gritMedium Scratches
Visible scratches with some depth. Fingernail catches slightly on the edge. Often from heavier grit, dragged objects, or shoe heels with embedded particles.
Start at: 80–120 gritDeep Scratches or Gouges
Clearly visible scratches with definite depth and edge. Fingernail catches distinctly. Caused by sharp objects, heavy dragging, or construction activity on the marble.
Start at: 36–80 gritWhere Dush Densi Max Ultra Fits Into Marble Restoration
Dush Densi Max Ultra is applied at the 80-grit grinding stage — not as a scratch remover, but as the treatment that permanently improves the marble's resistance to future scratching once restoration is complete. Applied when the marble's pore structure is most open, Densi Max Ultra penetrates deep into the stone and chemically reacts with the calcium minerals inside the pores, forming a calcium silicate hydrate matrix that densifies and hardens the stone from within. The restored floor is substantially more scratch-resistant than the original untreated marble.
DUSH DENSI MAX ULTRA
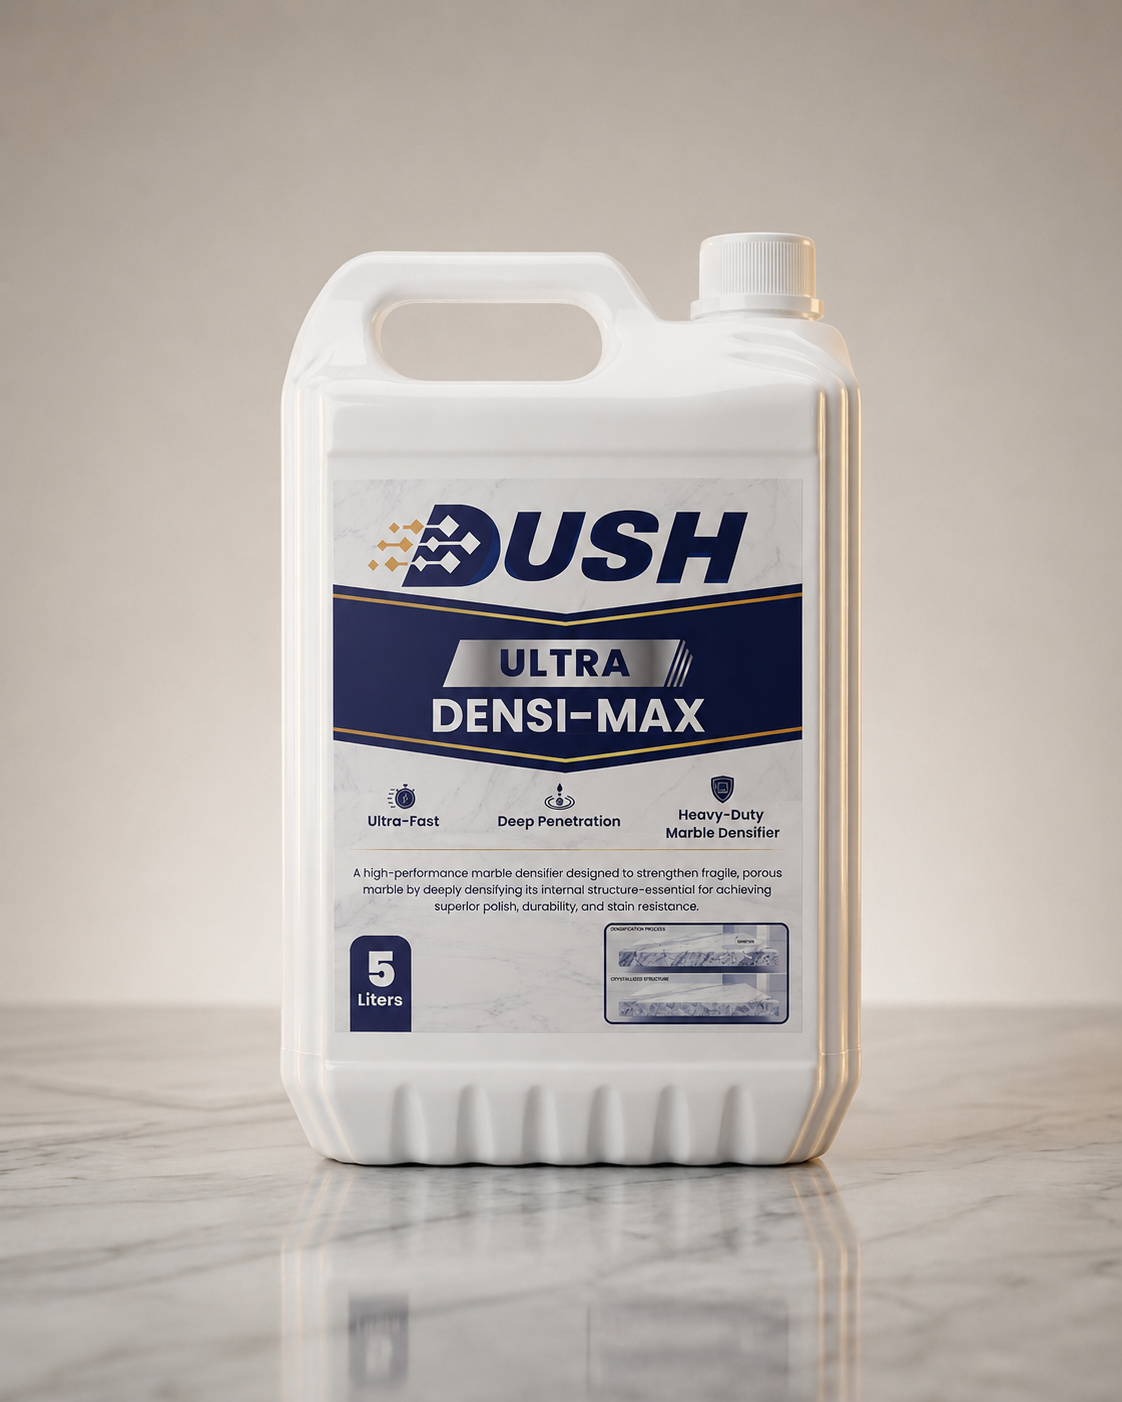
The 80-grit grinding stage is the point of maximum pore openness in the marble restoration process. The coarse grinding action opens the stone's surface pores to their greatest extent, giving Densi Max Ultra the deepest possible penetration pathway into the pore structure before subsequent finer grits begin to close the surface again.
Applied at this stage in 3 to 5 coats with 15 to 20 minutes penetration per coat, Densi Max Ultra's silicate chemistry reacts with the calcium minerals inside the pores and forms a permanent calcium silicate hydrate network that physically fills and hardens the pore walls. This internal hardening increases the stone's effective surface density and resistance to the abrasive cutting action that causes scratches — the same sand and grit particles that scored the original polished surface encounter a denser, harder internal structure in the treated marble.
- ★Applied at 80 grit — maximum penetration depth: The only stage in the polishing process where pores are open enough for deep penetration into the stone's internal structure
- ★Permanent internal hardening: Calcium silicate hydrate compounds formed inside the pores are chemically bonded — they do not wash out, wear off, or degrade over time
- ★Significant scratch resistance improvement: Densified marble is harder internally, making it substantially more resistant to the abrasive particles that cause surface scratching
- ★Dual benefit — stain protection too: The same pore closure that improves scratch resistance permanently protects against turmeric, oil, and coffee staining
- ★Clear — no appearance change: No surface film, no colour change, does not affect the marble's natural appearance or veining
- ★Verify with water drop test: Pour 3–4 drops of water on the finished surface — beading for 5+ minutes confirms pore closure is complete
The Complete Grit Sequence Explained
The grit sequence for marble restoration works from coarse to fine, with each stage removing the scratches left by the previous stage. The starting grit must be coarser than the original scratch depth. Dush Densi Max Ultra is applied at the 80-grit stage regardless of where you started — if you began at 36 grit for deep scratches, you still apply Densi Max Ultra after reaching 80 grit, before continuing to finer stages.
grit
Starting point for deep scratches and gouges only. Aggressive material removal to cut below the deepest scratch. Leaves visible coarse scratch pattern that subsequent grits remove.
grit
Removes 36-grit scratch marks. Refines the surface level. For medium scratches this may be the starting grit.
grit
Surface is at maximum pore openness. Apply Dush Densi Max Ultra in 3 to 5 coats before proceeding. Allow to cure fully. This is the only point in the process where deep penetration is achievable.
grit
Removes 80-grit scratch pattern. Surface begins to show early translucency. For light surface scratches this may be the starting grit.
grit
Removes 120-grit marks. Surface noticeably smoother. Starting point for very light surface scratches and general surface refreshing.
grit
Removes 200-grit marks. Surface approaching polished appearance. Scratch pattern now very fine.
grit
Surface develops early mirror-like reflection. Original veining and colour of marble begins to show clearly.
grit
Full polish or honed finish achieved. Original marble appearance fully restored — and the internal pore hardening from Densi Max Ultra is now permanently in place for long-term protection.
Full Step-by-Step Restoration Process
Clean the Floor Thoroughly
Remove all surface dirt, grit, and cleaning product residue before grinding begins. Any loose particles left on the floor during grinding act as additional abrasives and can cause new scratches.
Assess Scratch Depth and Choose Starting Grit
Run a fingernail across the deepest scratch. Catches clearly: start at 36–80 grit. Catches slightly: start at 80–120 grit. Does not catch: start at 200–400 grit.
Grind to Remove Scratches
Using diamond abrasive pads or a planetary floor grinder, work through each grit stage, removing the previous grit's scratch pattern completely before moving to the next finer stage. Do not rush — incomplete grit stages leave visible marks that cannot be polished out later.
→ Work in overlapping passes and check under raking light before moving to the next grit
Apply Dush Densi Max Ultra at 80 Grit ★
After reaching the 80-grit stage, stop grinding. Apply Dush Densi Max Ultra undiluted in 3 to 5 coats across the entire floor area. Allow 15 to 20 minutes penetration per coat. Remove any excess before it dries on the surface.
→ This is the most important step for long-term scratch resistance — do not skip it
Allow Densi Max Ultra to Cure
Allow Dush Densi Max Ultra to cure fully before continuing to the next grinding stage. Check the product TDS for cure time — proceeding before full cure reduces the penetration depth and effectiveness.
Continue Through Fine Grits to Final Polish
Continue through 120, 200, 400, 800, 1500 grit and final polish stage, removing each stage's marks before proceeding finer. The Densi Max Ultra treatment continues hardening the stone internally as polishing progresses.
Verify With the Water Drop Test
Pour 3 to 4 drops of water on the finished marble. If the water beads for 5 or more minutes, Densi Max Ultra's pore closure is complete and the surface is protected. If water absorbs quickly, apply additional coats of Densi Max Ultra and retest.
The Water Drop Test — Your Final Quality Check
Pour: 3 to 4 drops of plain water on the restored marble surface.
Wait: 5 minutes without touching.
Pass: Water is still beaded in droplet form — pore closure is complete. The floor is protected against both scratching and staining.
Fail: Water has absorbed into the marble — apply 2 additional coats of Dush Densi Max Ultra and retest after curing.
How to Prevent Scratching Again After Restoration
After restoring a scratched Italian marble floor, three steps significantly reduce future scratch risk. Dush Densi Max Ultra at the 80-grit stage internally hardens the stone. Entrance mats at all doorways trap sand and grit before it reaches the marble. Felt pads on all furniture legs prevent dragging damage. The combination of internal hardening from Densi Max Ultra and physical grit exclusion dramatically extends the time before any re-polishing is needed.
Dush Densi Max Ultra at 80 Grit
The most effective scratch prevention step — internal pore hardening increases the stone's resistance to abrasive particles at a molecular level. Applied during restoration, it works permanently without any maintenance.
Entrance Mats at All Doorways
The majority of scratching particles enter on shoe soles from outdoors. A mat system with a coarse outdoor mat and a finer indoor mat removes most grit before it reaches the marble surface.
Felt Pads on All Furniture
Furniture legs dragged across marble — even when lifted partially — concentrate weight on a small area and score the polished surface. Quality felt pads on all legs and regular replacement prevent this entirely.
Dry Dust Mopping Before Wet Cleaning
Wet mopping over grit particles drags them across the surface and causes micro-scratching. Always dust mop or dry sweep to remove loose particles before any wet cleaning of marble floors.
See the Scratch-Resistance Difference on Your Own Marble
Test Dush Densi Max Ultra on a piece of your marble before committing to a full restoration. The water drop test alone shows the difference in surface porosity — and scratch resistance follows from the same pore closure chemistry.
View Dush Densi Max Ultra →Related Dush Guides and Products
Scratched Italian Marble Floor — Questions Answered
How do I restore a scratched Italian marble floor?
What causes scratches on Italian marble floors?
Can scratches be removed from Italian marble without replacing the slab?
What is the role of Dush Densi Max Ultra in marble scratch restoration?
How long does marble floor scratch restoration take?
Should I attempt marble scratch restoration myself or hire a professional?
External References
Restore and Harden — Not Just Restore
Dush Densi Max Ultra at the 80-grit stage permanently hardens the marble from within. A restored floor treated with Densi Max Ultra is substantially more scratch-resistant than the original untreated floor — and permanently stain-resistant too.